Peekachello Art

ToyCars

A toy race-car, viewed from the right-rear - the body of the car is white oak, the fender piece is russian olive, and the wheels are oak stained black with India ink. A toy race-car, viewed from the left - the body of the car is walnut, the fender piece is white oak, and the wheels are oak stained black with India ink.

We've got a couple kids in the neighborhood now. They were both born in December 2025, and I gave them both rattles. For Christmas 2026, I decided to make a couple toy cars for them, based on ones I saw that Crowie had made a few years ago.

There are a lot more details in the various pages making up the build, but after four cars, I think I've zeroed in on a pretty solid, playable toy, so I documented the build along with things I learned not to do along the way.

Making the individual parts:

  1. Axles
  2. Wheels
  3. Body
  4. Fenders
  5. Assembly

The parts are all finished on their show surfaces before assembly. Ring-porous woods (oak and russian olive, mostly) get a coat of shellac, followed by sanding with progressively finer sandpaper. I typically work up the grits going 60, 120, 220, then 400. Then I finish using three to five coats of RMP Half & Half with a quick buff with 0000 steel wool after each coat cures. This leaves a pretty dang good matte surface.

And then Assembly, followed by touch-up to remove any glue squeeze-out and either a final coat or three of shellac, or a quick buff with carnauba wax.

Thanks for looking!

#ToyCars #contents

Discuss... Or contact me in the fediverse @davepolaschek@writing.exchange

Putting the cars together isn't too complicated, but here is the order I do things in. Your mileage, as they say, may vary.

First I get the axles cut to length and shaped. See the Axles section for more if you don't remember it. For the length, I make the rear axle the width of the body, plus two rear wheels' worth, plus about 3-5mm (1/8-3/16 inch) to give them a little room to move. If the axle is a little long, that's better than a little short, since you'll be trimming the ends of the axle once the wheels are on.
A dowel with rough ends, a smooth and waxed middle, and two wedges sitting near

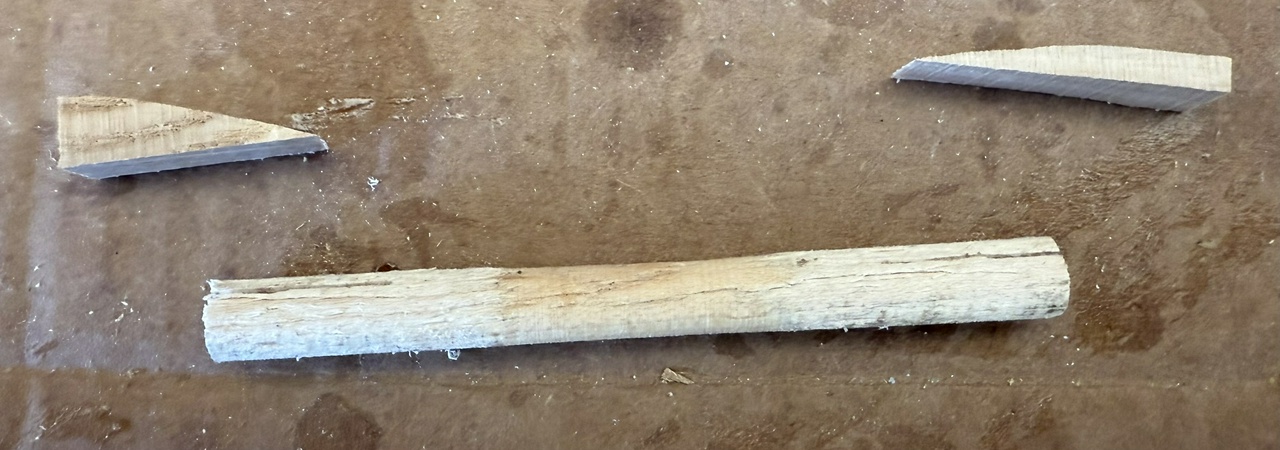
The axle gets a small kerf, about ¾ the width of the wheel, sawed into each end of it, perpendicular to the grain. I then glue one wheel onto the axle and glue a wedge into the kerf. The wedges are normally cut to about a 14° angle (half of a 1:4 dovetail angle) and maybe an inch long. I mostly make them from oak offcuts, but sometimes use ash.

Once that's dried, I'll put the axle through the body of the car, and test how it rolls. If there are any catches, this is the last chance to fix them (short of drilling out an axle and making a new one, DAMHIKT). Then I put on the other wheel and wedge it. Make sure to clean up any squeeze-out on the axle, so it doesn't get into the body (again, DAMHIKT).

Then I repeat the whole deal with the front axle, which I generally give an extra mm or two in length beyond the body width plus the width of the two front wheels. I like having the front wheels spaced a little farther from the body, and have pondered putting in small spacers so they don't slop side-to-side, but haven't figured out a solution I'm happy with yet.
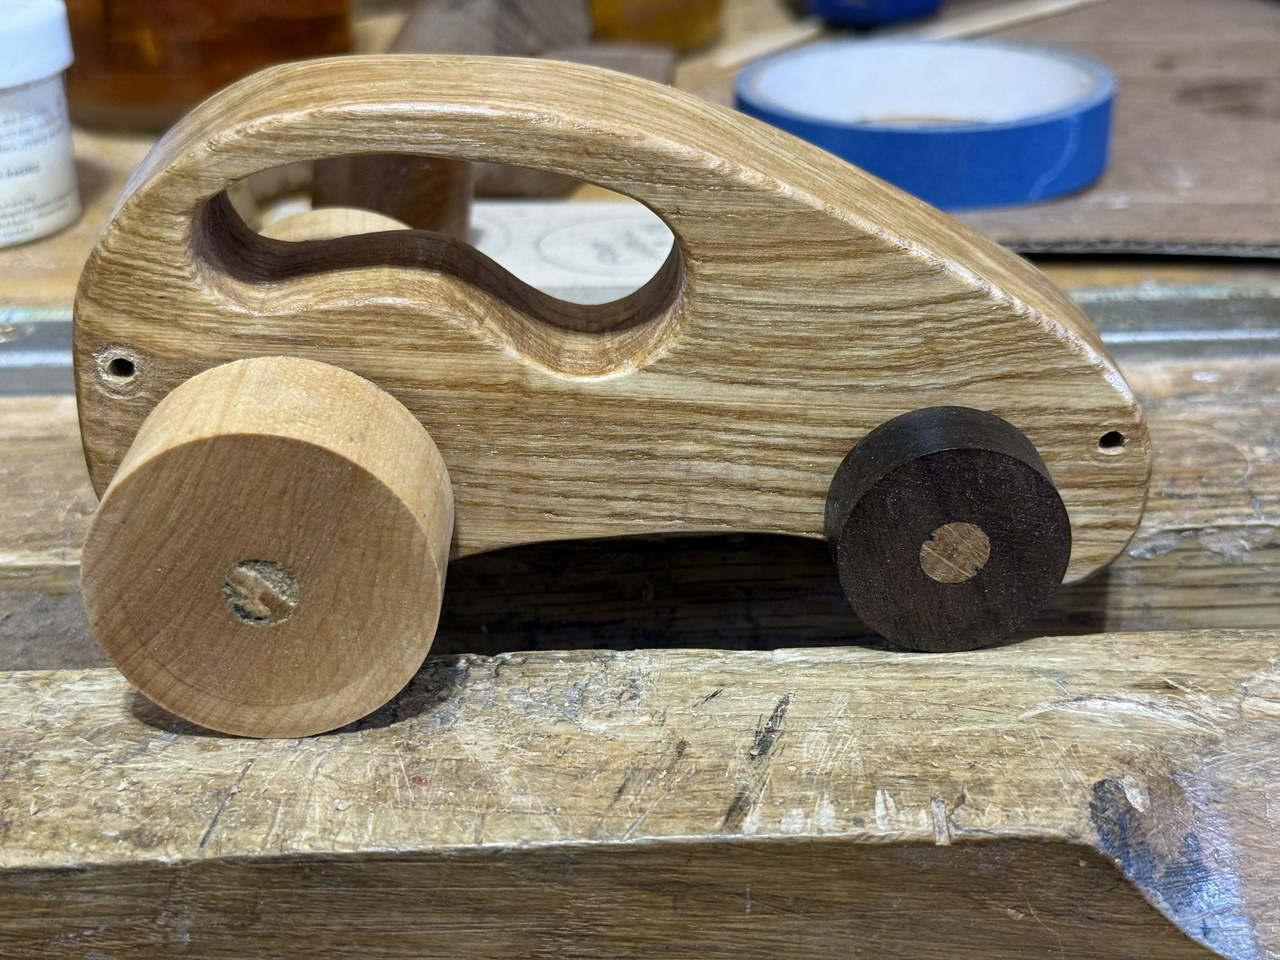
Car body with wheels attached

Once the glue holding the wheels on has set (at least a half-hour, but usually overnight), I'll get out a saw, and a knife or chisel and clean up the end of the axles and the wedges. Just saw the wedges and axles off a little proud of the wheel (a mm or so, or between 1/16 and 1/32 inch) and then taper the edges of the axle down to the wheel using the knife or chisel.
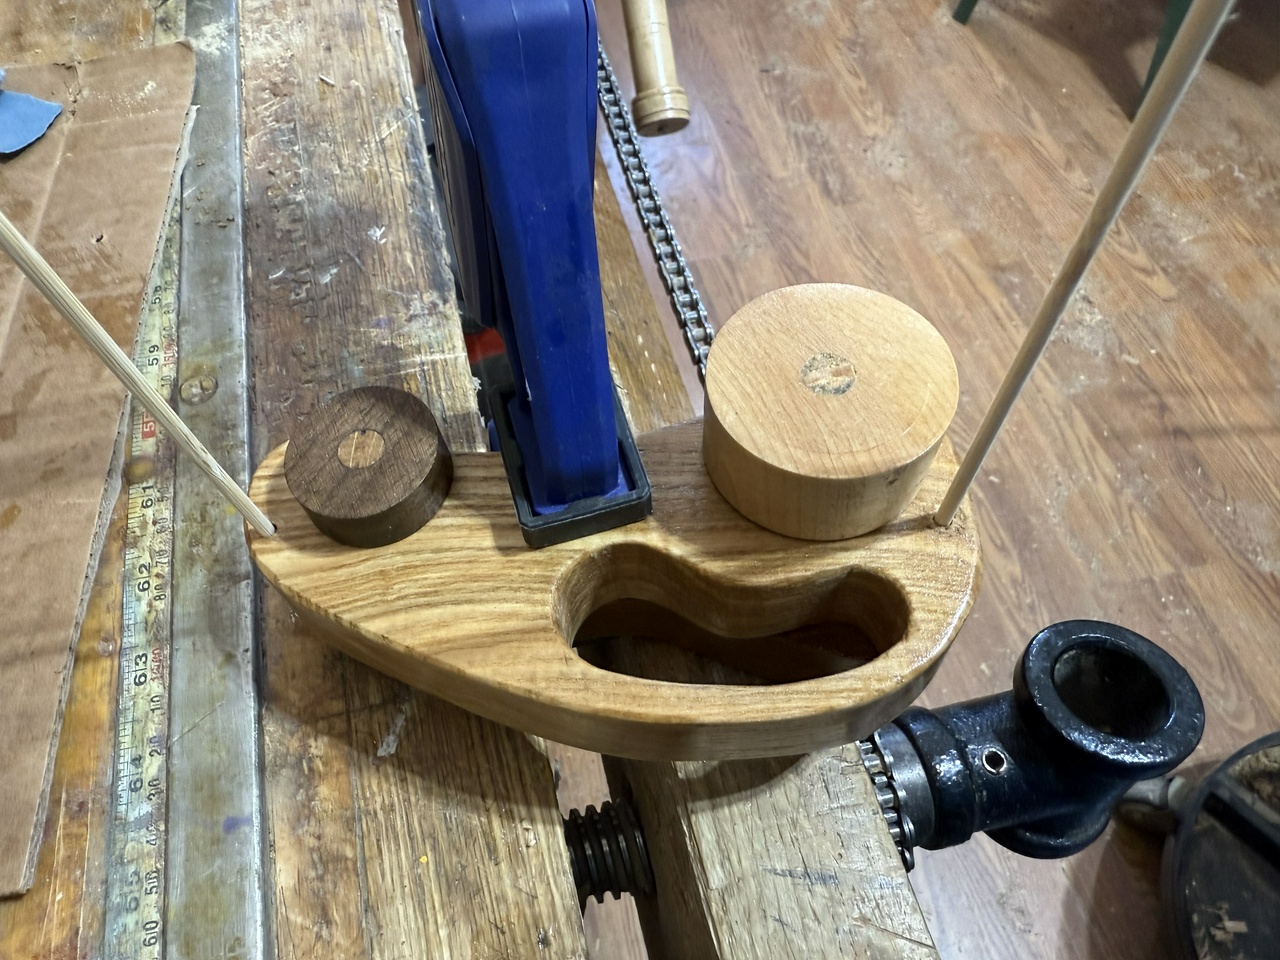
Car body with skewers in the alignment holes

With both axles on and dried (I usually give them overnight), I can figure out where the alignment holes for the fenders go. I put one fender against the side of the body and clamp it in place where it looks good. I then turn it over and drill ⅛ inch (3mm) holes through the body and about ¼ inch (6mm) into the fender. One at the front and one at the back. These holes are just for alignment, but they're both in places where the fender is thin, so I'm careful to avoid partly missing the fender.

With the holes drilled in the body and one fender, I place skewers into the holes (no glue yet!) and remove the clamp. Then I align the second fender, matching it to the first, then remove the first fender, and clamp the second into place. I'll also make a light pencil line along the top of each fender at this stage so I can sand off any finish from the body below the line where the glue will need to stick the fender to the body. Then I drill through the exiting holes through the body and about ¼ inch into the second fender.

After the holes are drilled, it's time to clean up any extra finish on the body and inside of the fenders. I just use a piece of 60 grit sandpaper and make sure I've got a good surface to glue to without messing up any of the finish that will still be visible.

With that done, I apply glue to the body and inside of the fenders, glue skewers into the holes and the body, and put the fenders onto the car and clamp them in place. I'll come back the next day to clean off any squeeze-out and do a final inspection on the finish. There's always something that can use a little touch-up.
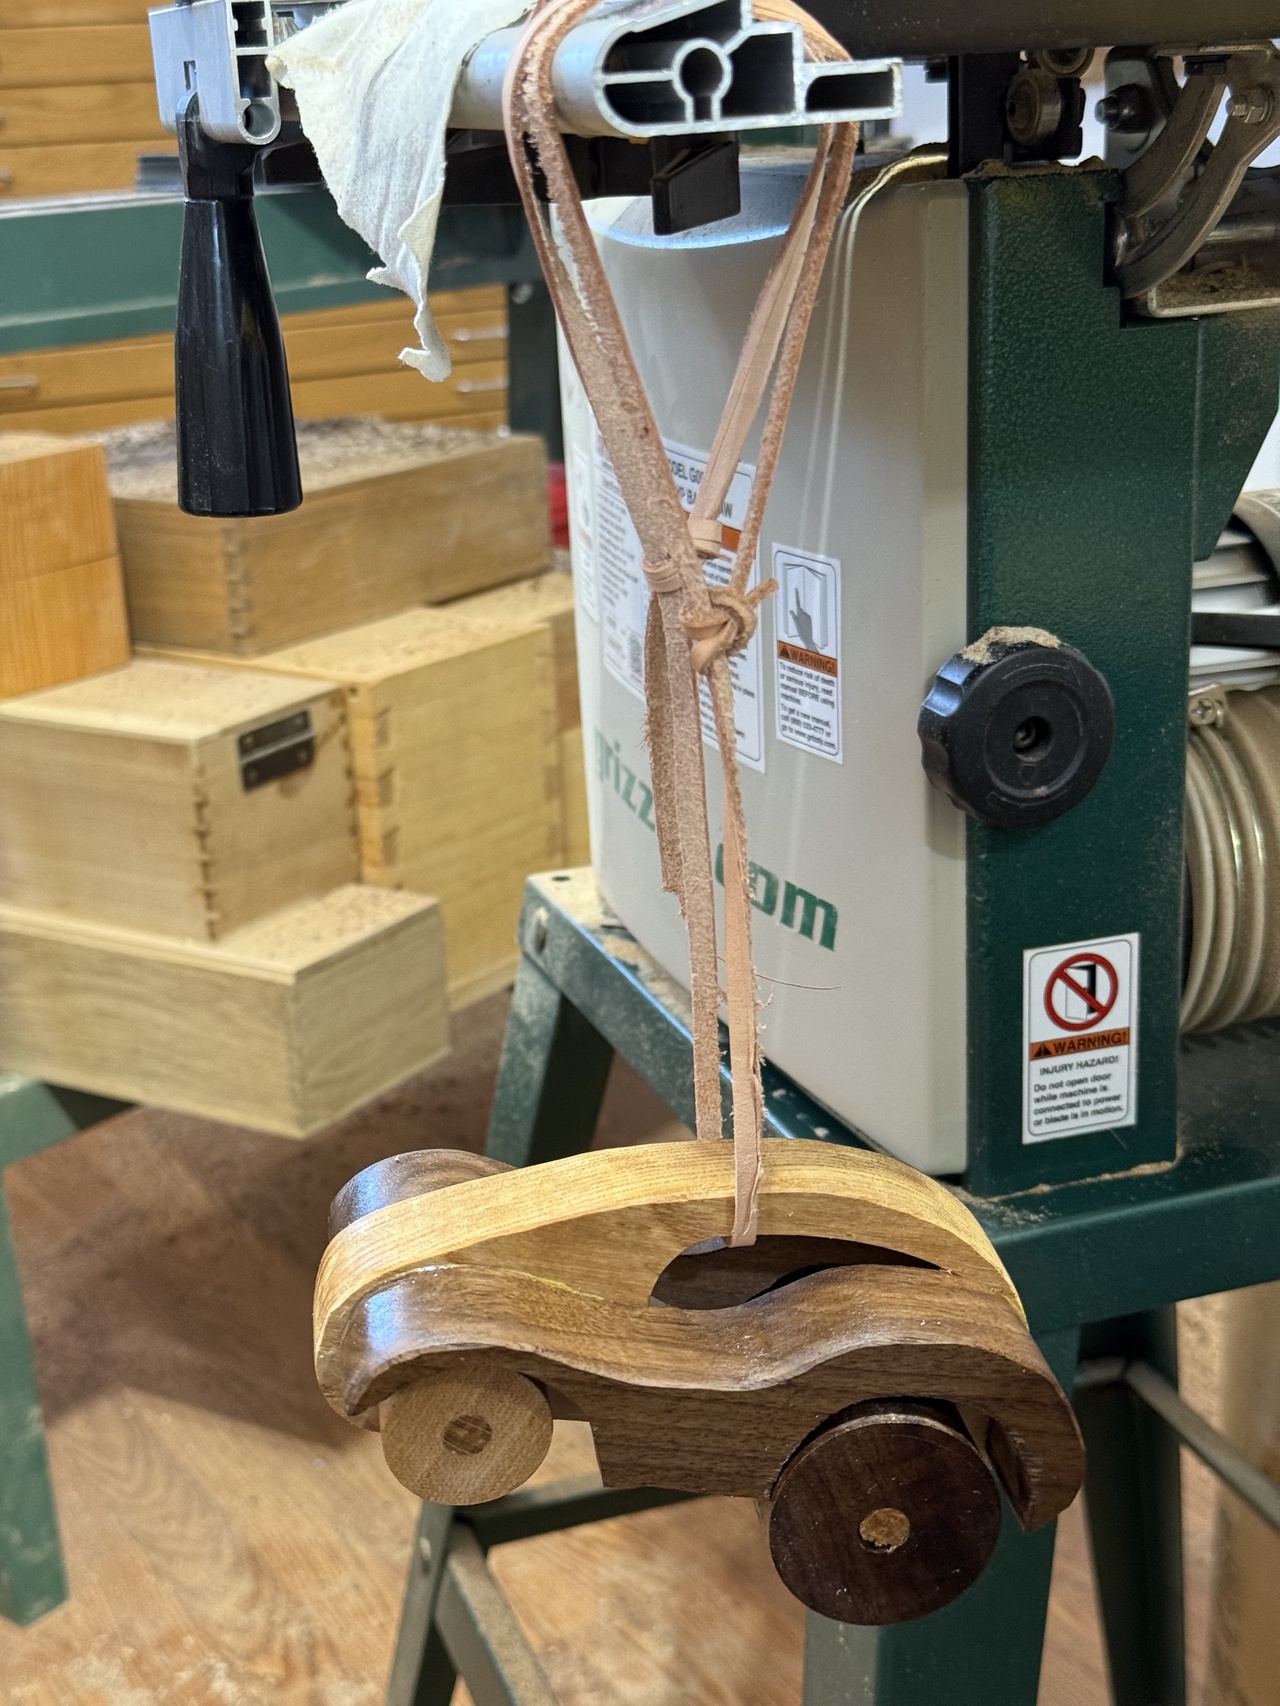
a toy car with a fresh coat of finish, hanging from a leather strap on my bandsaw

Finish to this point has just been oil, but now that everything is together, I will also apply a few coats of shellac. A wipe-on poly would work too. Just a little extra something to make it pretty for Christmas.

#toyCars #howTo #assembly

Discuss... Or contact me in the fediverse @davepolaschek@writing.exchange
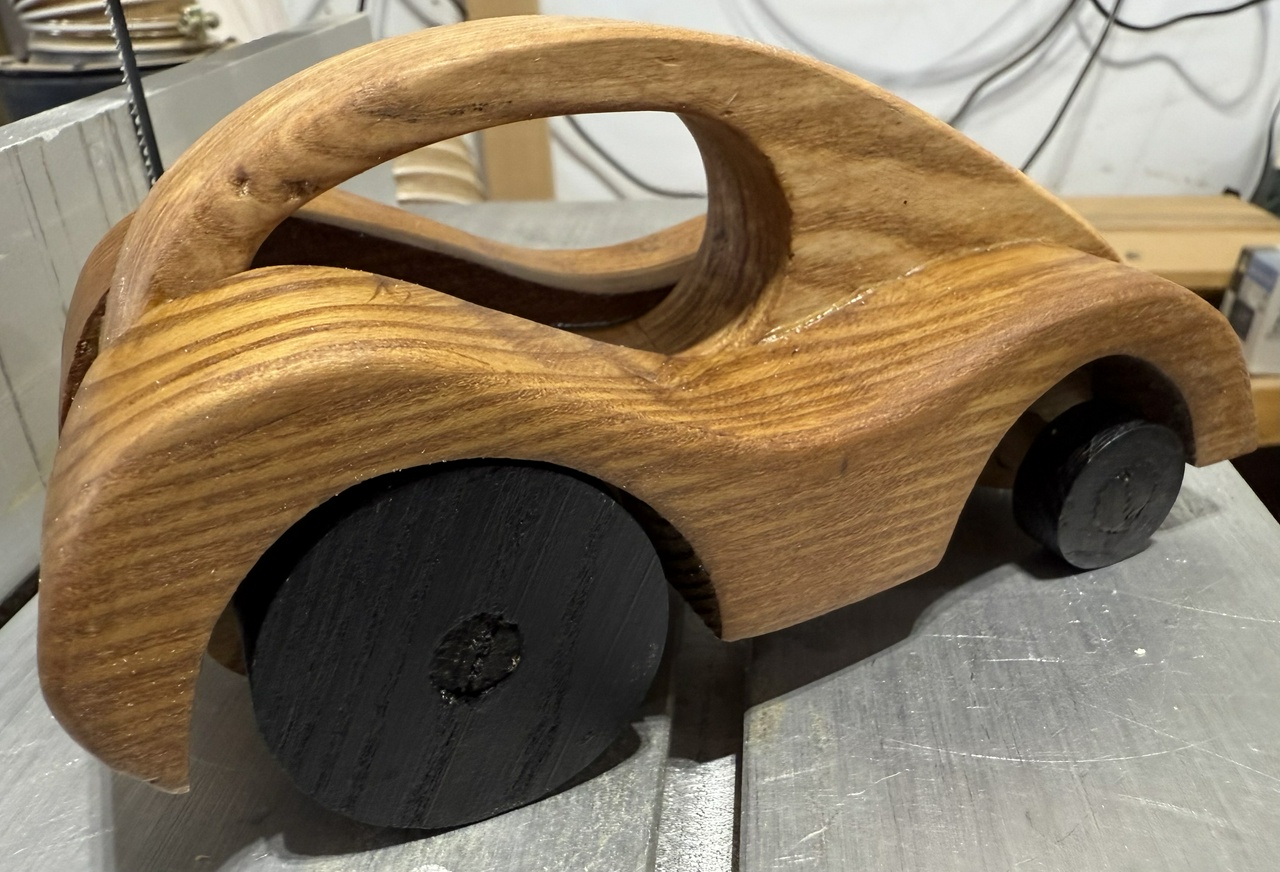
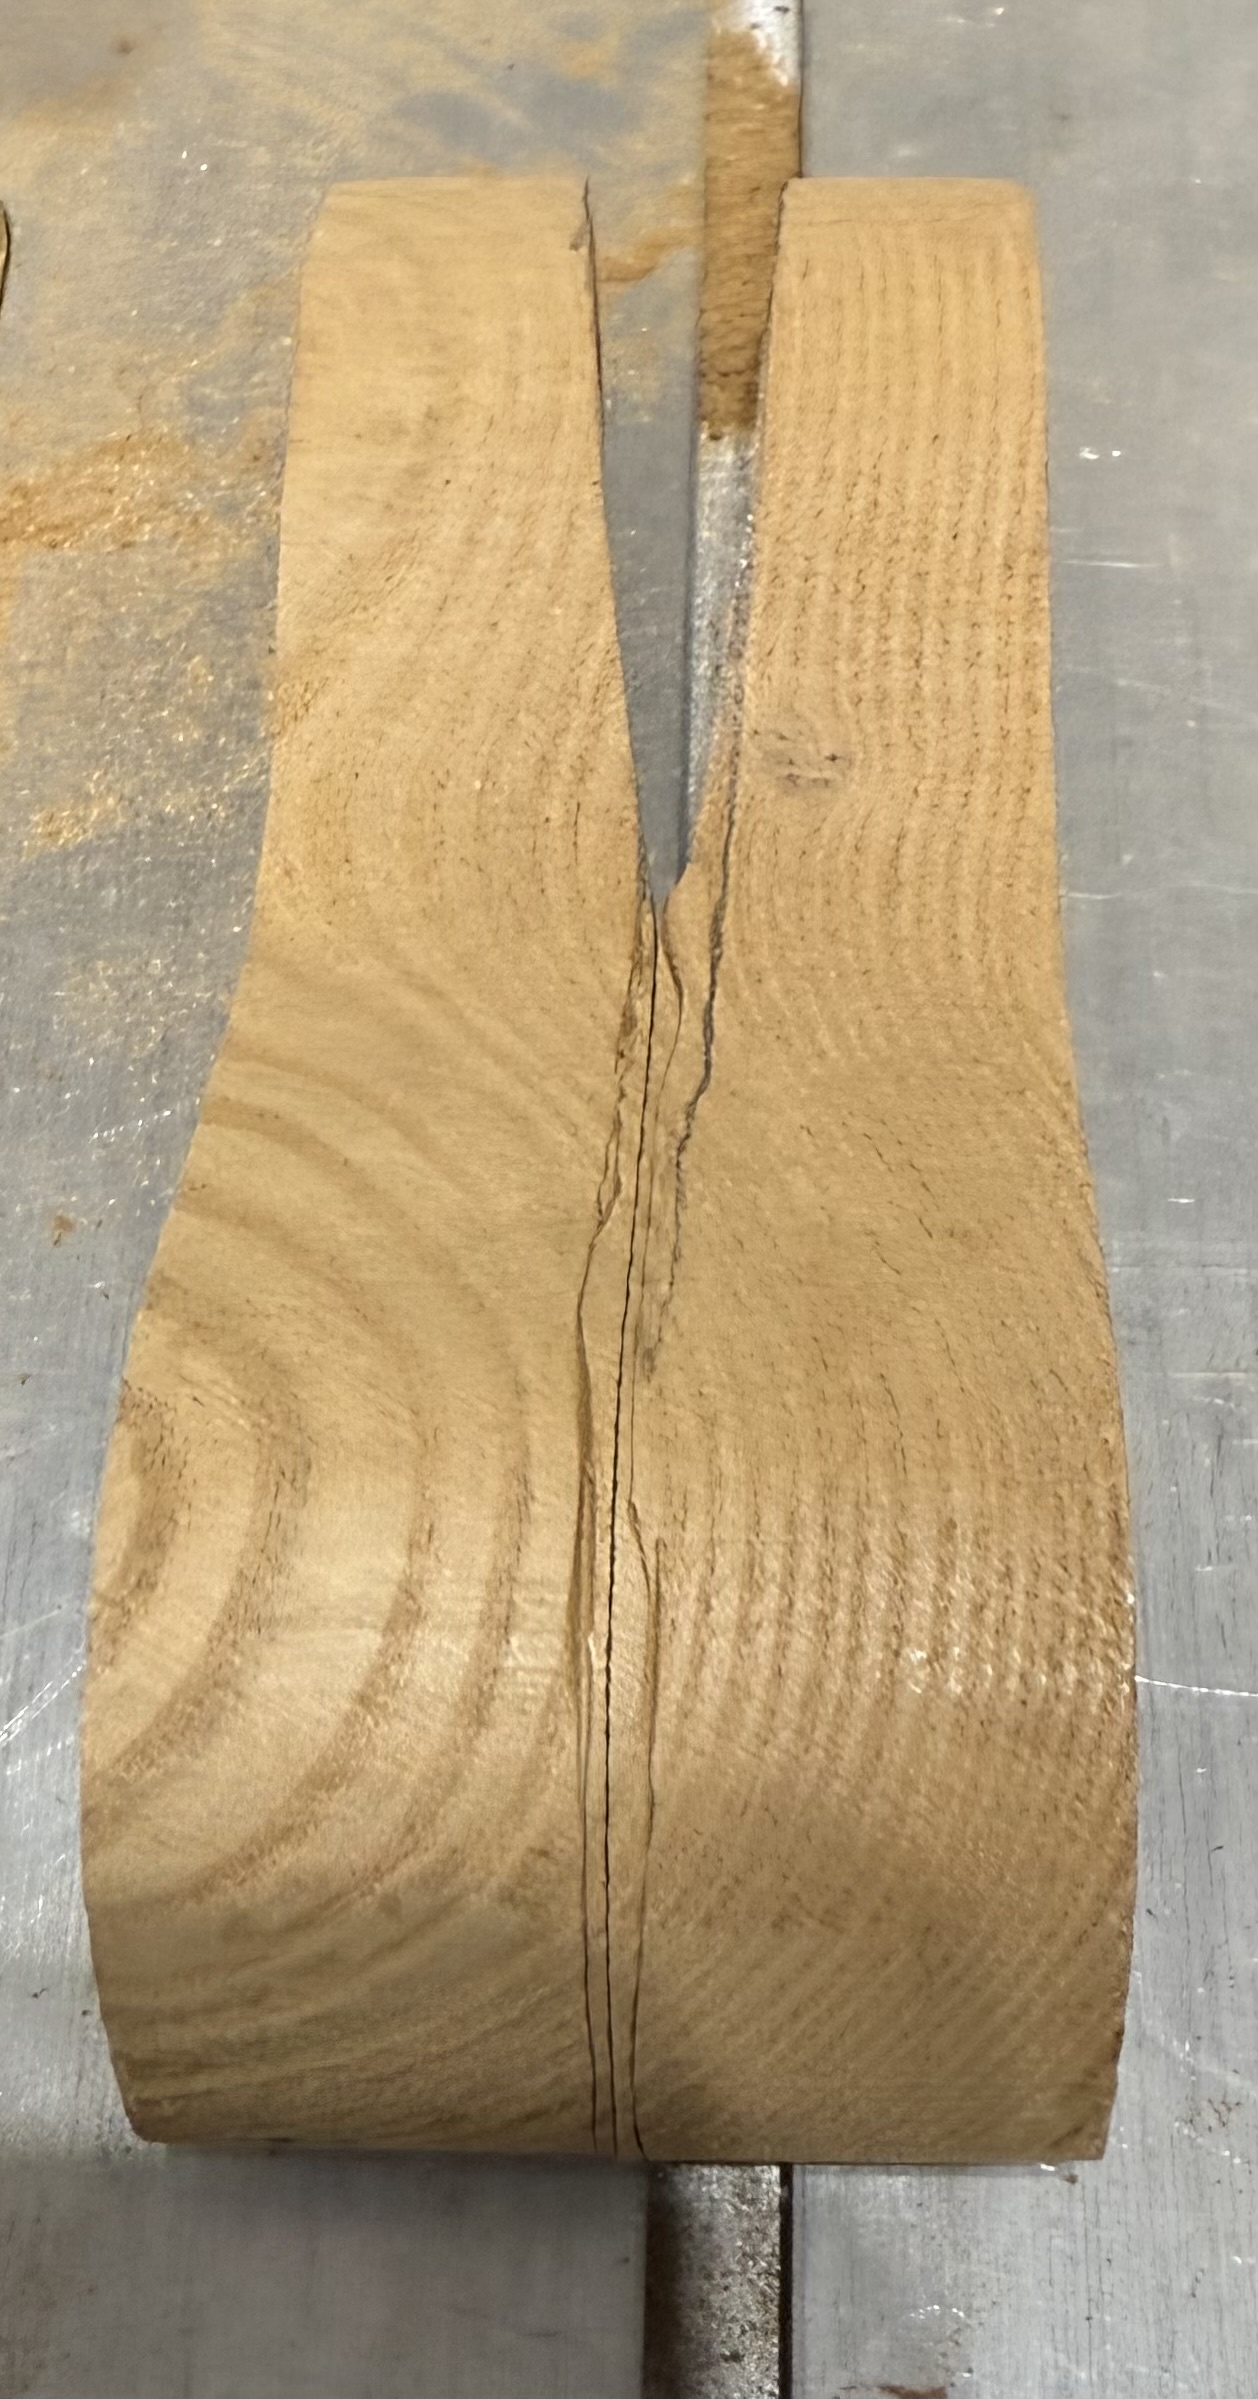
The fenders can be made from a template, but if you change the wheel size, you'll probably want to adjust the fenders to match the wheels you've made. I tend to make the fenders ¾” thick, or maybe a little more, but since I also make them two at a time from the same board, I use 8/4 lumber at a minimum.

I generally do not use the template. I will mark the positions of the wheels and body on the fender blank, and then sketch the fender shape using curvy things to make them look good. But I made a template, and if I need to make a large batch of identical cars, I'll use that. I would suggest not using the template until you've made a few cars, and tweaked them to match your own style.

A pair of fenders, cut from the blank

The next step is cutting them out. Then smooth the tops and bottoms with a rasp and 60 grit sandpaper.

A pair of fenders, cut apart

And then cut the two fenders apart using a bandsaw or a hand-saw.

Next, mark which sides are going to get glued to the body (I tend to use what was the outside of the board, as commercial lumber is smooth enough to glue together as long as there are no visible flaws), and clamp one fender in place. Drill a pair of ⅛” (3mm) alignment holes about ¼ inch (6mm) deep into the fender material through the body. Bamboo skewers (sold for grilling meat) will fit nicely into these holes, and will make gluing things up easier. Then unclamp that first fender and align it with a couple pieces of skewer, and clamp the other fender onto the opposite side of the body so it's lined up about the same, and drill holes into the second fender through the same holes you made in the body with the first fender.

A pair of fenders, taperedThen look at the body, the wheels, and the fenders, and decide how much you're going to taper them. I tend to leave the fenders a little wider than the wheels. In any case, you want to make the two fenders as symmetric as possible, and make a tapering cut from the front end to somewhere in the middle of the fender.

Once those cuts are done, finish smoothing the fenders and finish them, leaving the sides that will be glued to the body unfinished (so glue will stick). If you want to add lights, racing numbers, or other decoration to the fenders, now's the time for it. Paint or not, I try to put 3-5 coats of tung oil on, giving each thin coat a day to cure, so this is a slow part of the process.

And there's your fenders!

#toyCars #howTo #fenders

Discuss... Or contact me in the fediverse @davepolaschek@writing.exchange
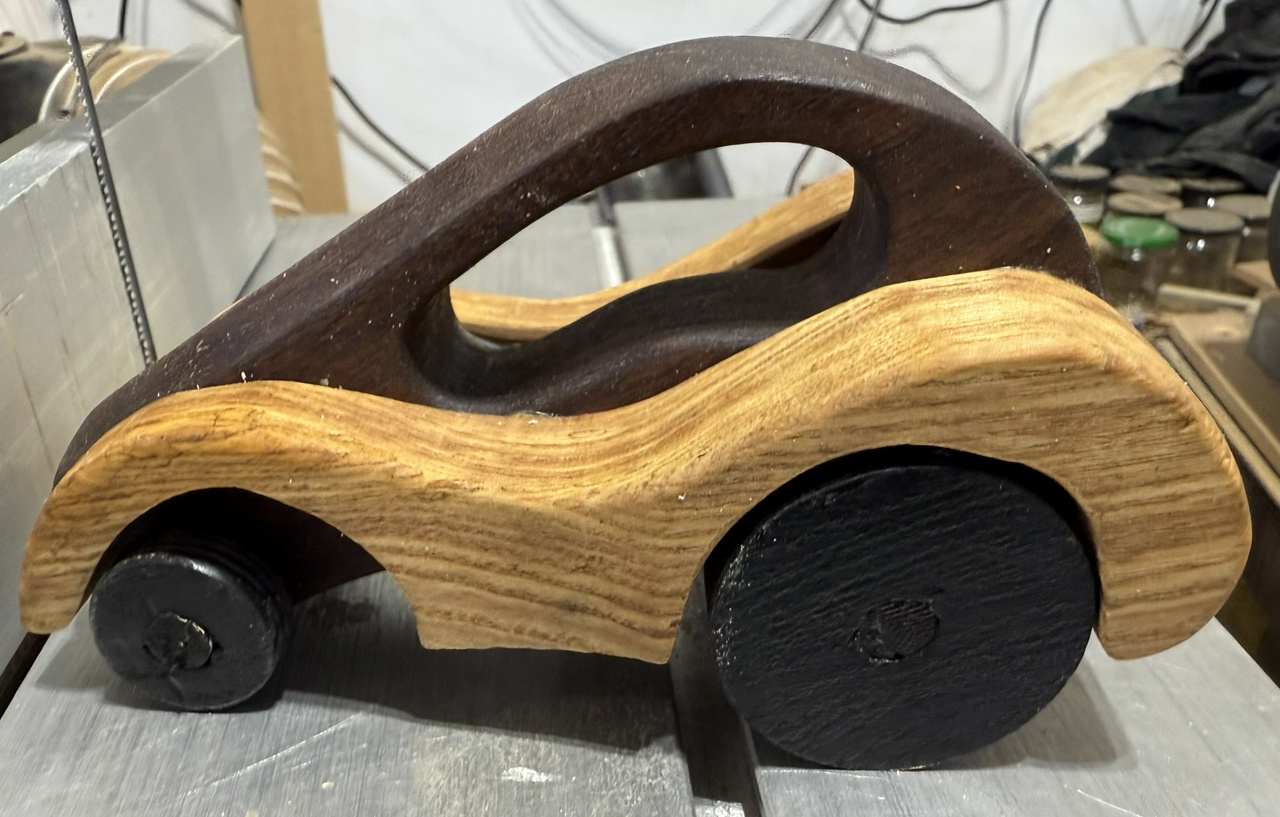
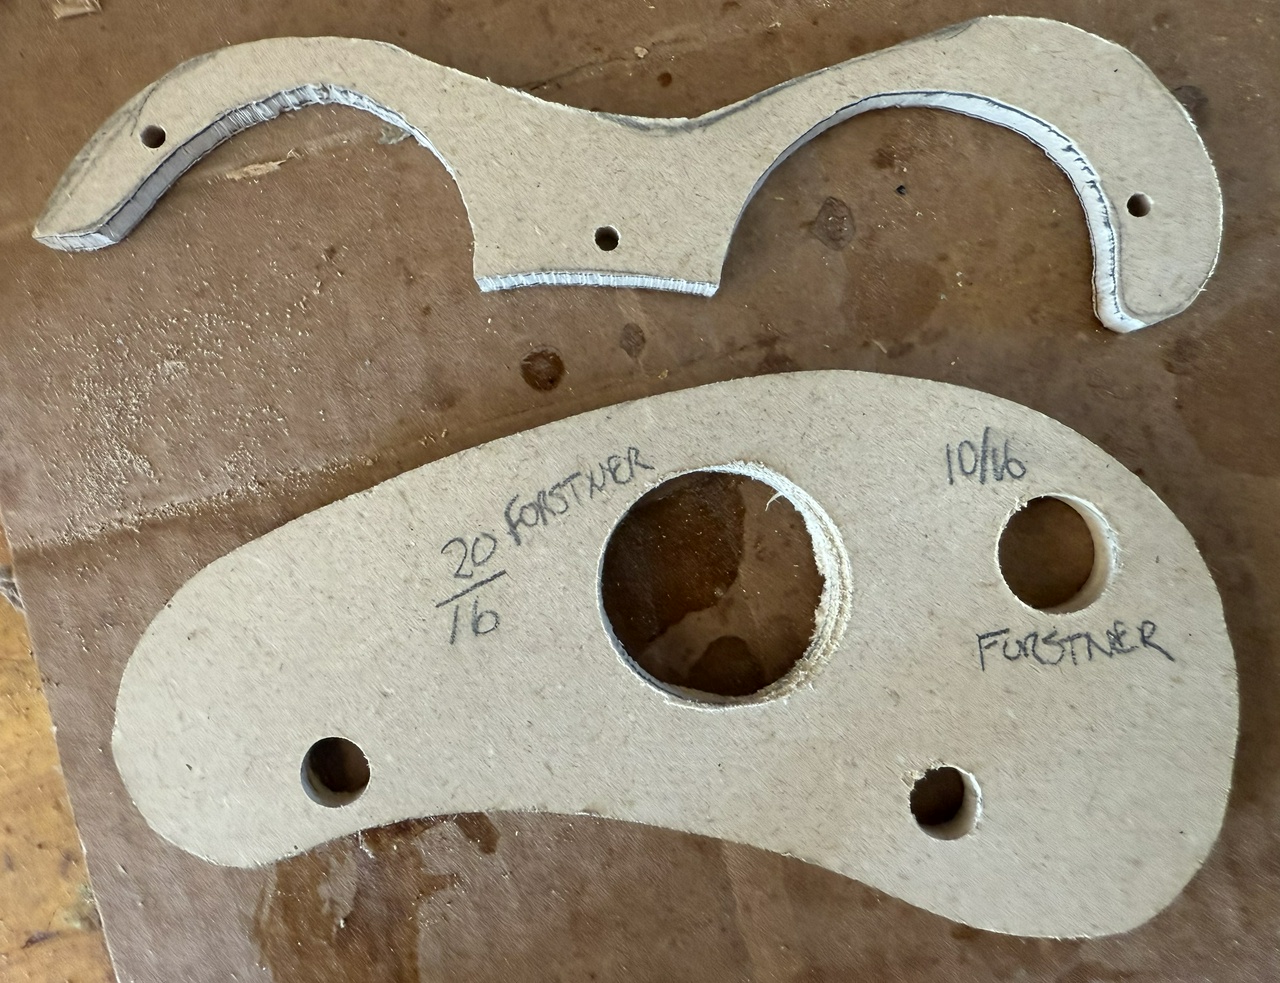
Toy car templates

I tend to make my car bodies pretty close to the template shown. Use whatever wood you have available for car bodies. You can either leave the wood-grain showing with a clear finish, or you can paint the body. Up to you.

I make the bodies using boards that are at least 1” thick, but no thicker than about 1.5 inches (25-40mm). This design uses thick “fenders” and I don't want the car getting too thick.

I cut the outside on my bandsaw. Using a fine-tooth ¼” blade, I can get pretty good cuts right off the saw, but I've even cut out car bodies using a ¾” resaw blade. It'll take more cleanup to get a nice surface, but that goes pretty quick with a spokeshave and sandpaper.

Car body with axle holes drilled

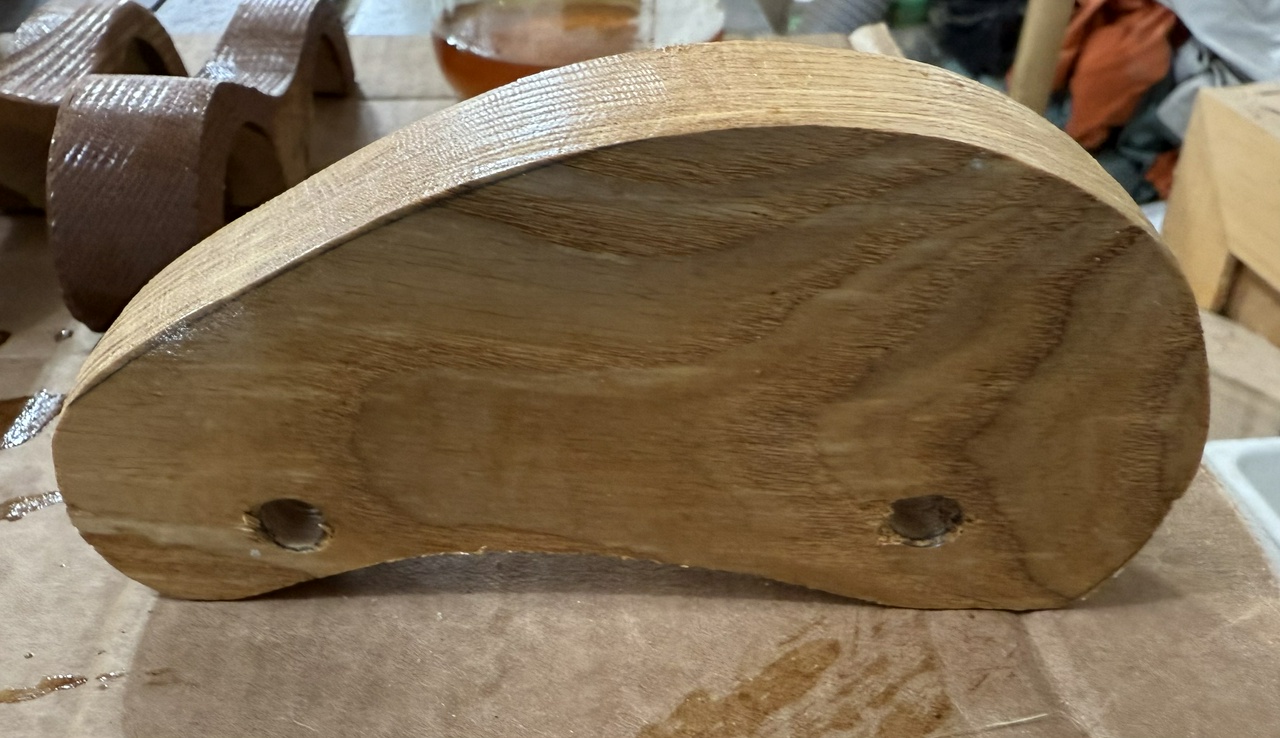
With the body cut out and smoothed, I will buzz the flat surfaces on the belt-sander. Then I drill the axle holes on my post-drill. A drill press will work fine if you're lazy. A hand-drill or bit and brace will work too, but if the holes aren't perpendicular to the sides of the body, the car won't roll straight, so however you drill them, try to get them straight.

There are holes in the template I showed, but I sometimes will move the axles forward or back a bit, which also means moving the alignment holes for the fenders, and probably will make the fender template useless. If you make very small (less than ¾ inch / 18mm) wheels, you'll need to move the axle hole closer to the bottom edge of the body so the wheel will reach the floor.

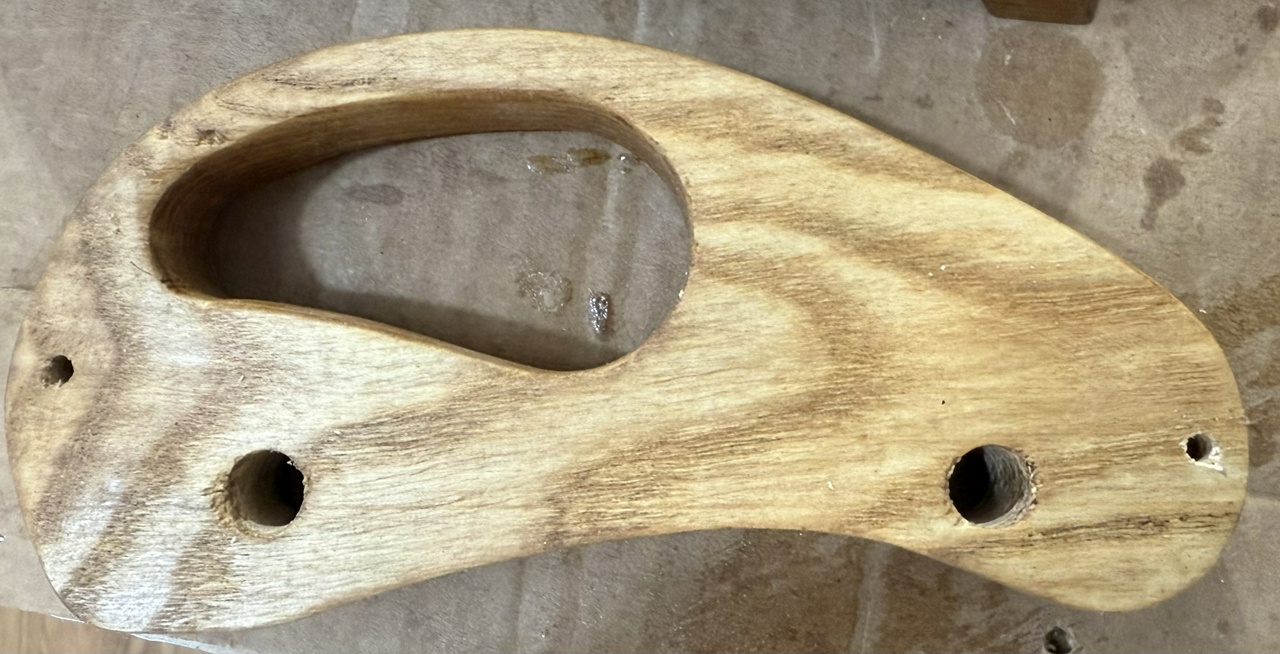
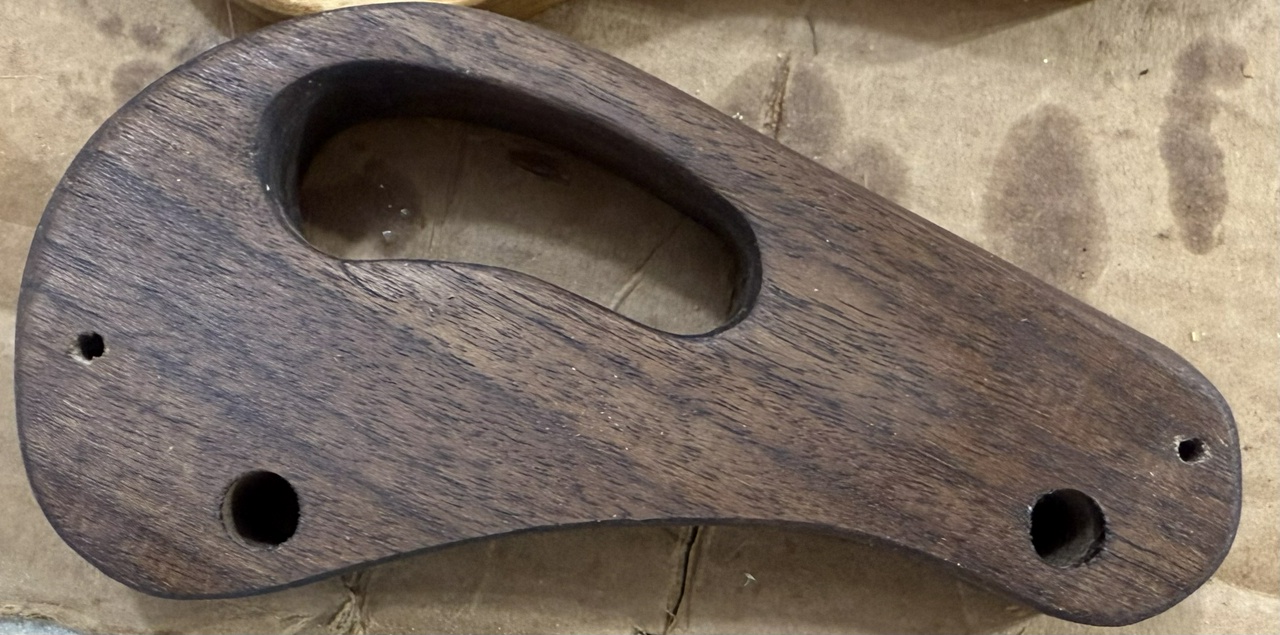
Oak body with the passenger area cut out, and alignment holes drilled Walnut toy car body with axle holes, passenger compartment, and alignment holes drilled

After the axle holes are drilled, I use forstner bits to make two holes for the “passenger compartment.” The template calls for a 20/16 (1-¼ inch or 32mm) hole and a 10/16 hole. Use what you have, and what looks good to you. With those two holes drilled, I head to the bench and cut out the waste between the holes using a coping saw, turning saw, or if you're fancy and like burning electrons, a jigsaw or scroll-saw will work, too. Smooth out the surfaces of the passenger compartment with a rasp or sandpaper. The rasp is a lot quicker.

Next, I will “show the fenders to the body” to check fit. This also lets me drill the alignment holes in the body to match any tweaks I made to the fenders. And I will lightly mark the edges of the fenders on the body, and put blue tape on most of the area that will get glued before finishing the body (though that's not shown in the pictures above).

I tend to keep any decoration on the body to the front, top and back surfaces. The sides mostly get covered by the fenders, but if you're going to add any decoration, do that now, and then finish the body with 3-5 thin coats of tung oil, buffed with 0000 steel wool between coats.

And that completes the body.

#toyCars #howTo #body

Discuss... Or contact me in the fediverse @davepolaschek@writing.exchange
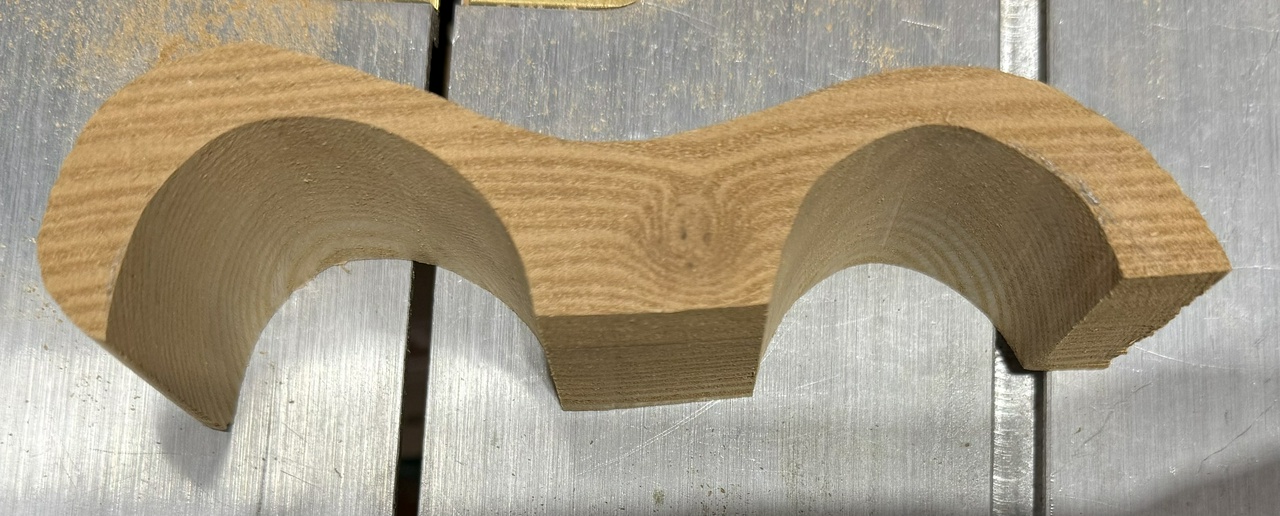
I've turned wheels from most of the hardwoods I have in my lumber-hoard. Diffuse-porous woods are easiest. Hard-maple wears nice and long, so I'll use that when possible.

Rear wheels, I generally make from either 4/4 or 5/4 stock, and turn them no larger than 2” (50mm) in diameter. I've turned a few with the grain running through the wheel, but then I need 2x2 inch turning blanks, which are harder to come by. I'm not convinced the increased strength is needed, but turning the wheels with the grain running parallel to the axle will also help when the wood changes size due to humidity changes, so it's probably better to do it that way.

Front wheels I make smaller in both dimensions. I make them between 2/4 and ¾ thick, and diameter around an inch (25mm).

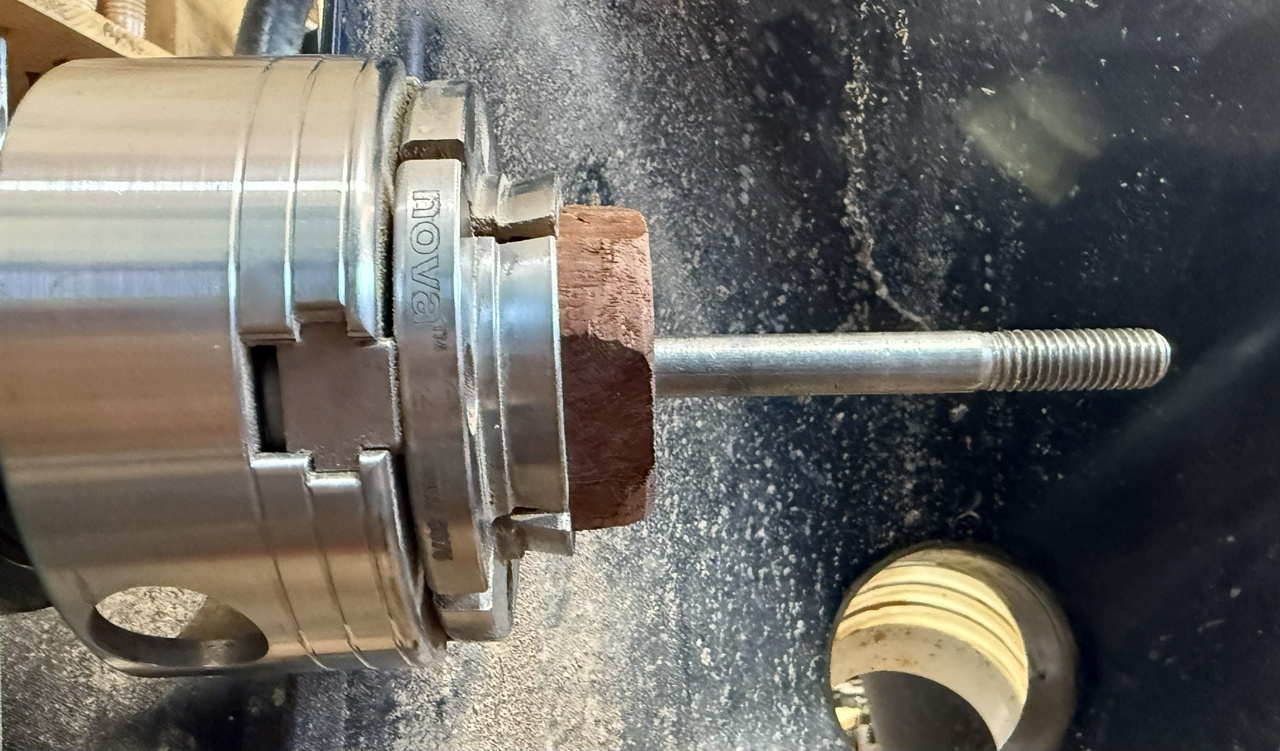
A ⅜ inch bolt sticking out of a piece of wood in a Nova chuck

On my lathe, I have a chuck with a block of wood with a 4” (100mm) long ⅜ bolt through the middle of it (I drilled the hole on the lathe). A washer and nut complete the “wheel chuck.” I will drill a ⅜ inch hole through a wheel blank that's roughly 3” long for a pair of rear wheels, or the same length for 4 front wheels, put it on the bolt, tighten down the nut, and turn away.

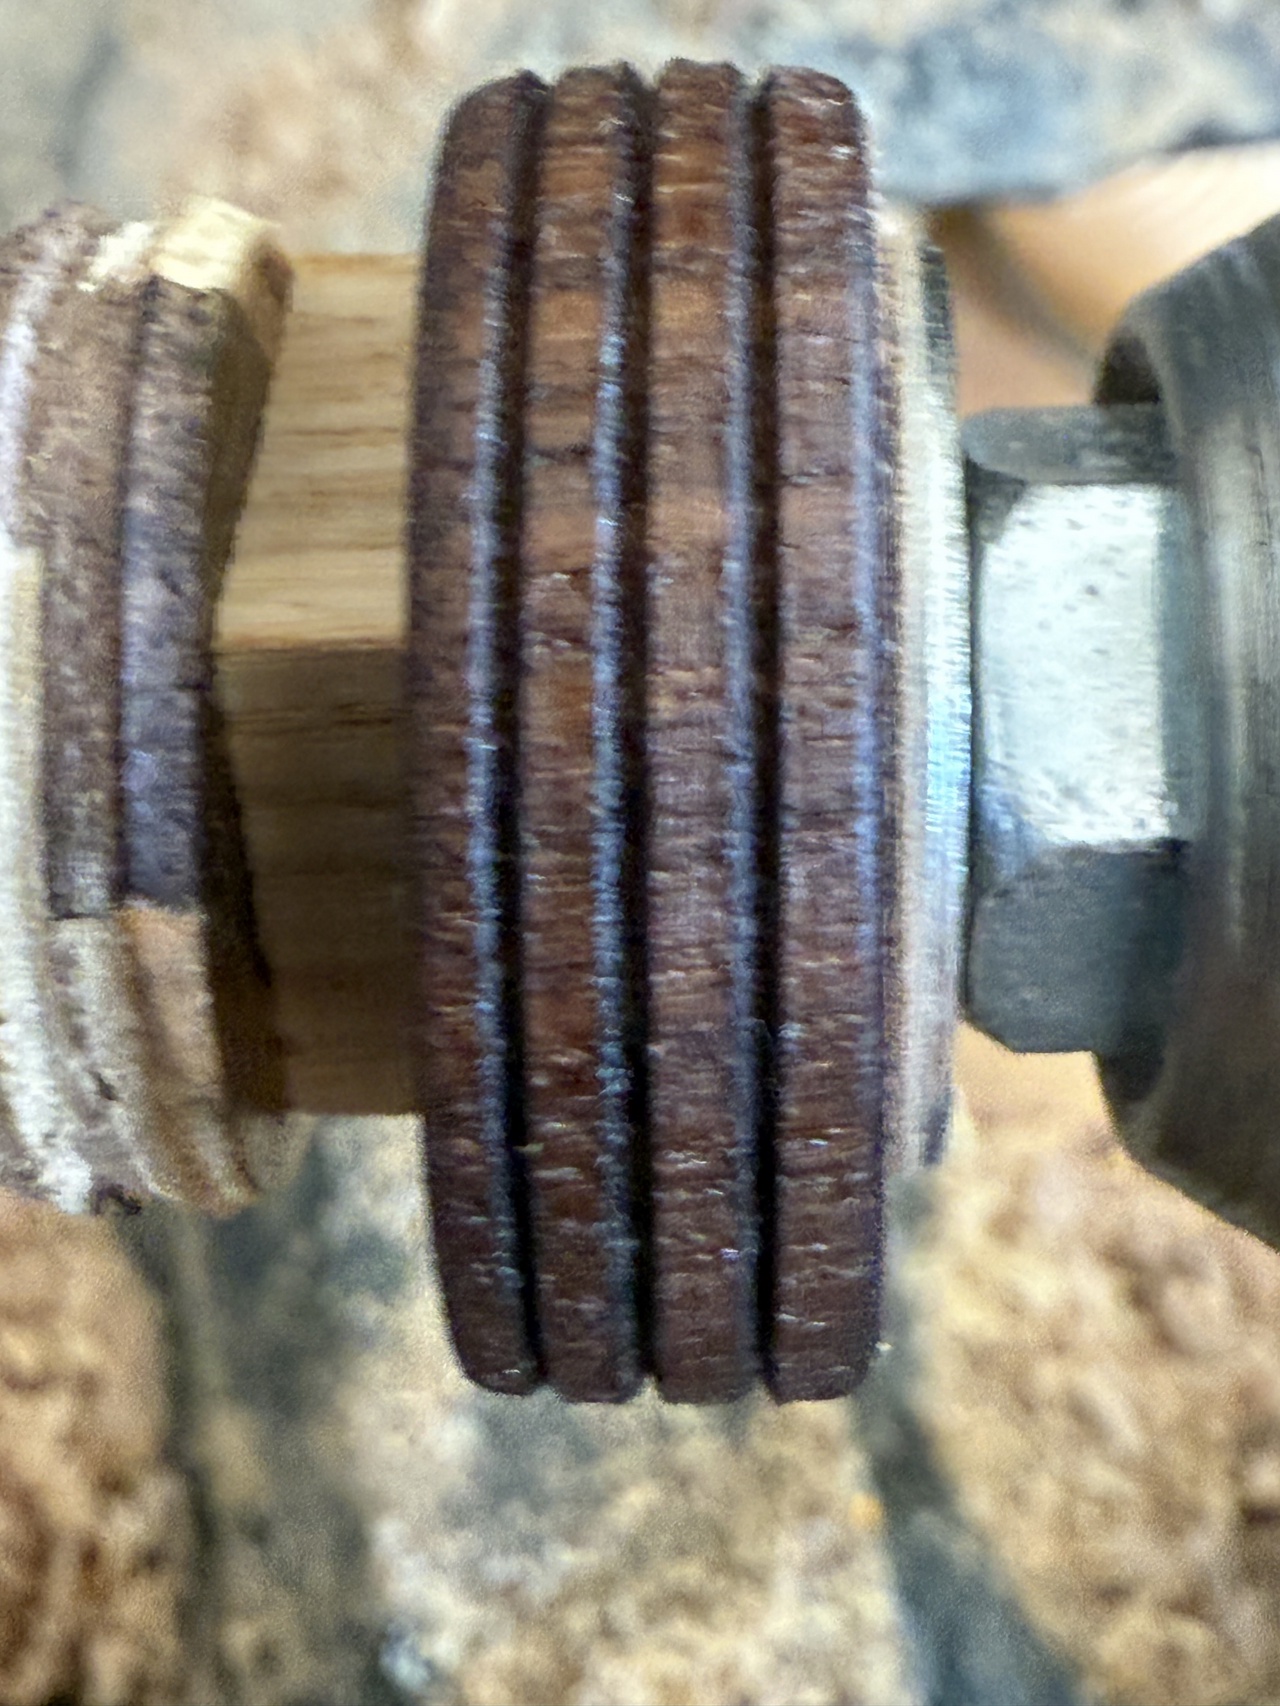
A small wheel, mounted on the lathe, with treads and rounded edges

After I have the wheels “pretty close,” I will cut “treads” running around the wheel using the tip of a skew, and cut the wheels mostly apart using a parting tool (not necessarily in that order). I use a scraper to slightly round the edges of each wheel, just so a kid doesn't get cut on the sharp arris on the wheel. I will sand them to about 200 grit, and apply a few coats of shellac on the lathe. Then I pull them from the bolt and finish cutting them apart with a hand-saw. Next is a quick trip to the belt-sander to clean up the faces of the wheels, but not so much that it leaves a sharp arris on the edge of the wheel.

India ink works nicely to blacken the wheels, but you can leave them natural, as well. For a finish, I generally stick to a couple coats of tung oil, which is kid-safe and easy to renew later.

And there's your wheels.

#toyCars #howTo #axles

Discuss... Or contact me in the fediverse @davepolaschek@writing.exchange
Making the axles is the first step for me making toy cars, and most important if you want the toys to roll smoothly. You can buy pre-made dowels. I would recommend maple, since it's readily available, generally pretty hard, and easy to find in straight grain.

In general, you'll want a diffuse-porous wood. In North America, this means one of the following woods: alder; aspen; beech; birch; hophornbeam; ironwood; live oak; madrone; mountain mahogany; maple; myrtle; or sycamore. Fruit woods, such as Apple, Cherry, or Plum will work too.

You'll also want grain as straight as you can get. Twisty grain will make life hard for you, and the axles will be weaker than you would like (which is why I generally don't use fruit woods for axles).

I've standardized on ⅜ inch (roughly 9mm) diameter for axles. It's big enough to be strong, and small enough that I'm not wasting too much wood.

A square axle stick above a rough-cut dowel made from a nearly-identical stick

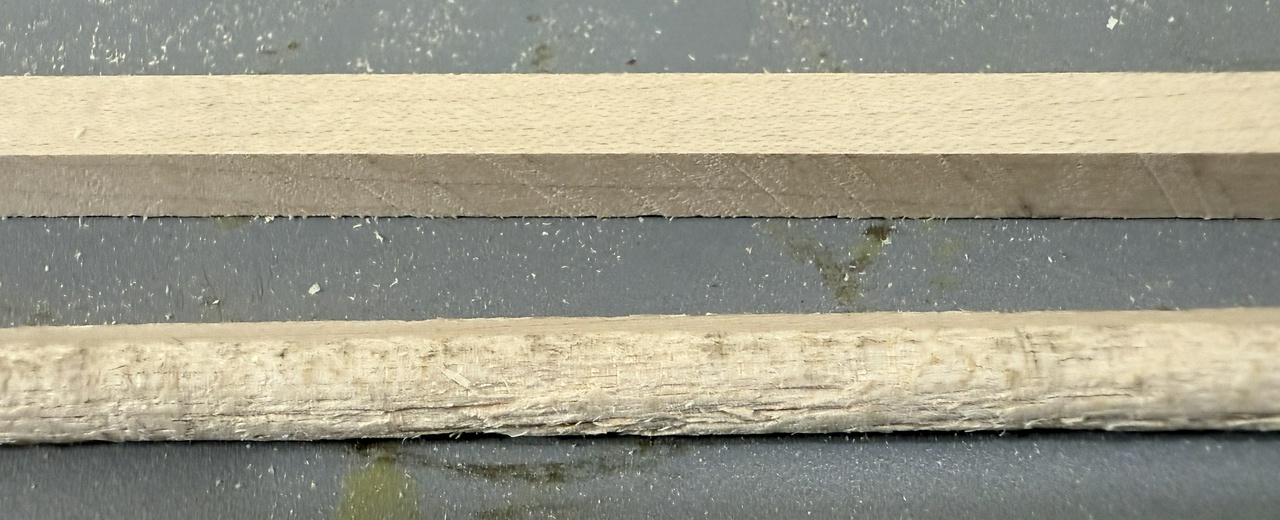
First step is rough-dimensioning the wood into square sticks. I tend to make them no longer than 30” (75mm) since that's the longest I can put into my lathe.

A square stick going into the Stanley 77 dowel-maker

Then I run the square sticks through my Stanley 77 dowel-maker with the ⅜ inch cutter, which is set a little oversized. It produces dowels about 13/32 inch (or 1/32 inch. oversized). If you have trouble with cutting dowels, soaking them in linseed or tung oil for a while before cutting them will make them cut more easily. Just be prepared to thoroughly clean the dowel-maker if you do this, as it will get oil everywhere and you don't want that to gum up the works when it cures.

If you soaked the blank in oil, let it sit for a couple days to cure before proceeding. If there are any spots with tear-out, try to align them to the part of the axle that will be glued into a wheel, and feel free to fill it with wood filler if it makes you feel better.

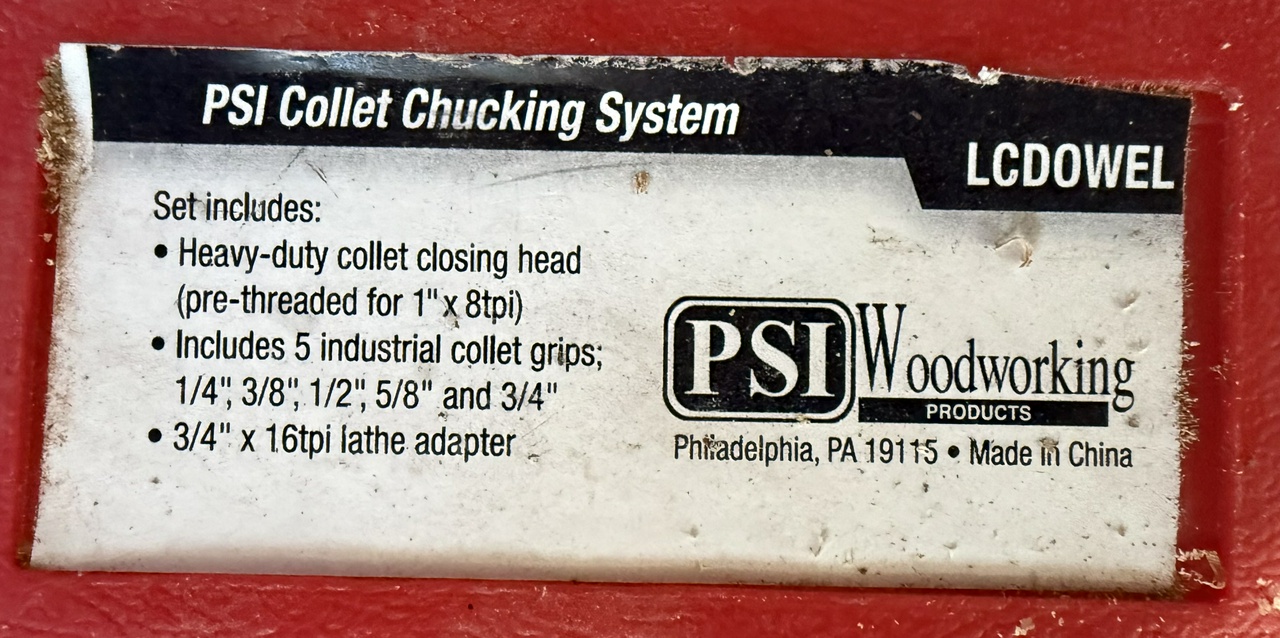
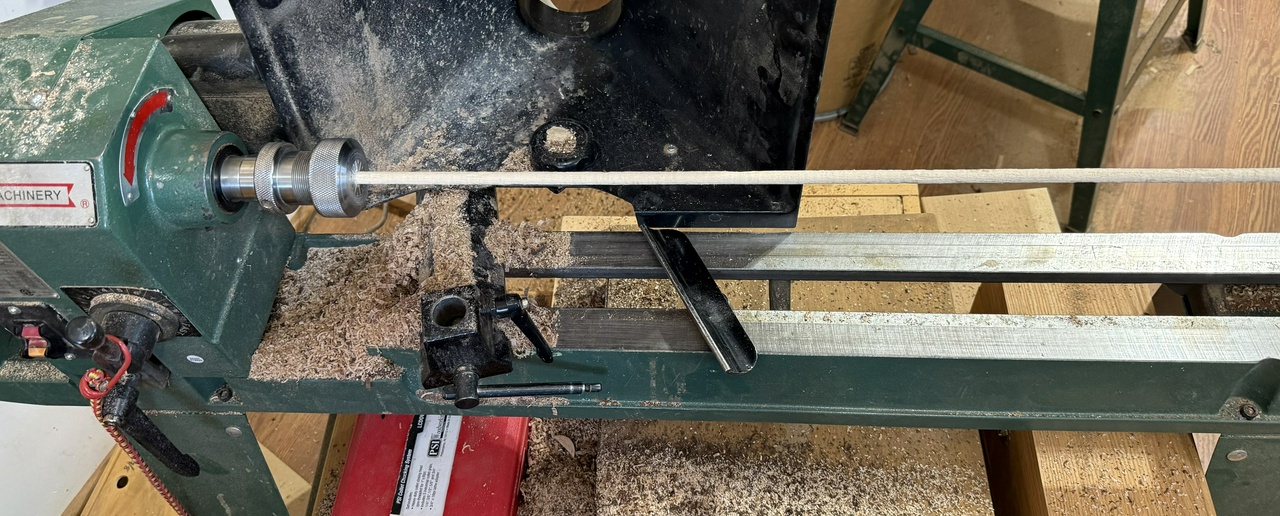
Label from the collet-chucking system from PSI A maple stick, in the collet chuck, on my lathe

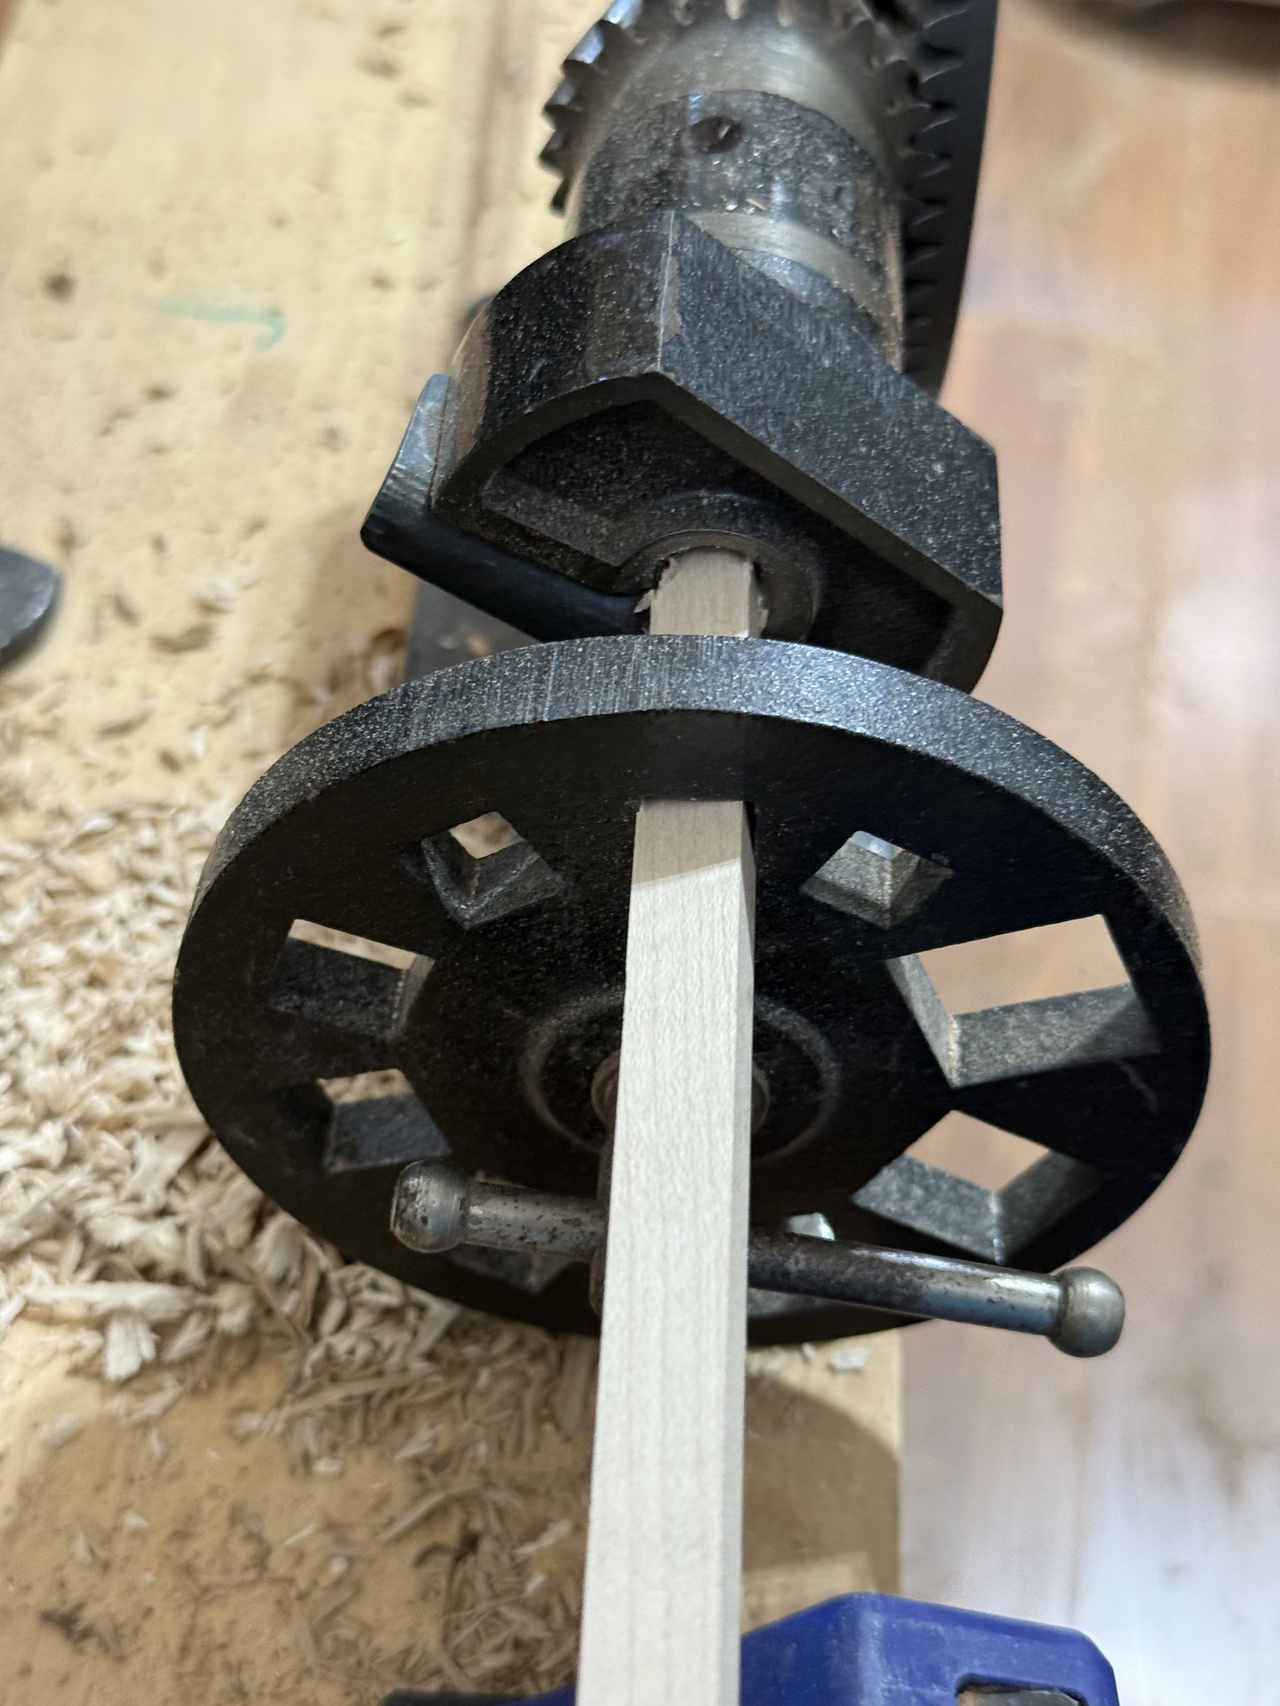
Next, I pop the rough dowel into a ⅜ inch collet-chuck on my lathe, and smooth the rough dowel with some 60 grit sandpaper, just lightly so I don't give myself any splinters. This also makes the dowel fit tightly into a hole drilled by my ⅜ inch drill bit. The dowel is either dead-on ⅜ inch at this point, or maybe 1/64 oversized.

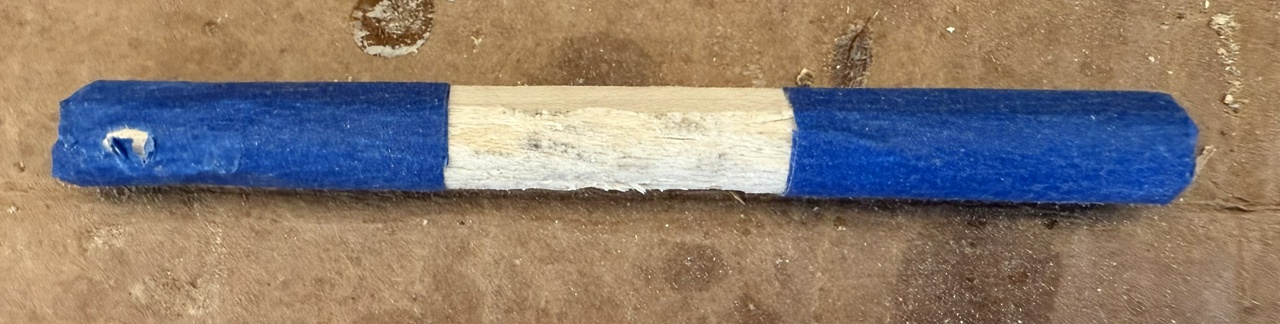
A maple dowel with tape on both ends

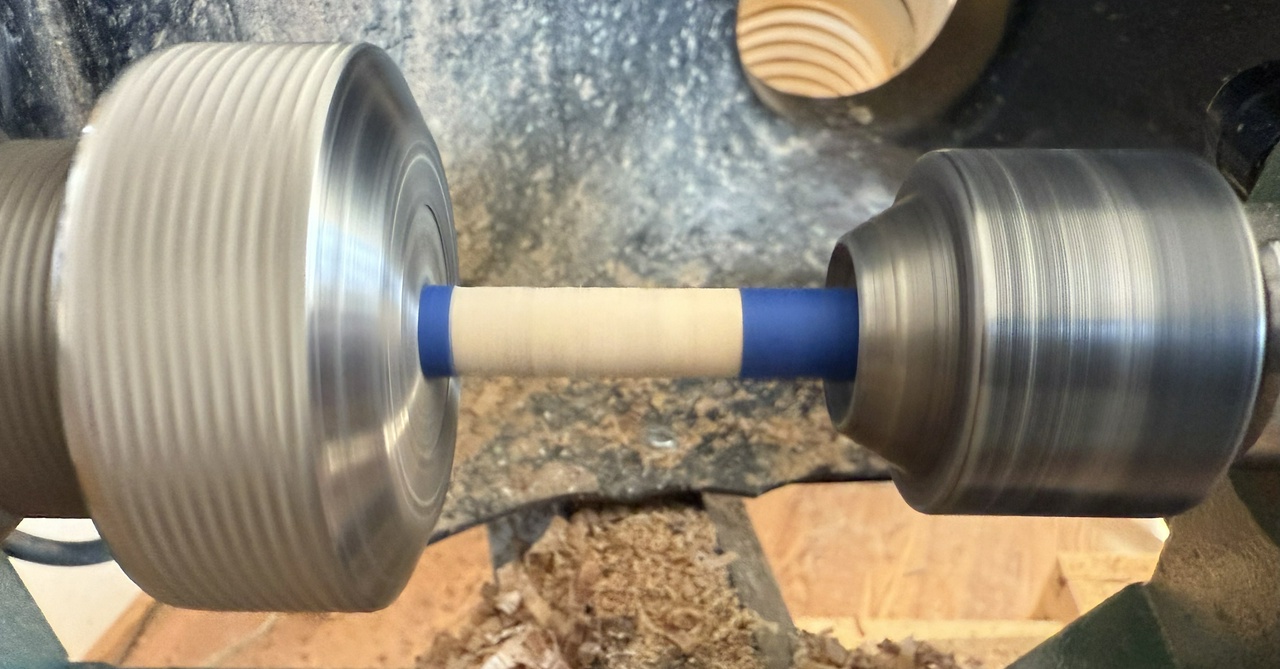
With the dowel smoothed, I cut axles to length (see more in the Assembly section), and wrap the width of the wheel on each end of the axle with blue painters tape.

A dowel, spinning on the lathe

I then chuck the axle up in the collet and sand the center portion down by about 1/32, making it undersized and smooth. I work through 120, 220, and 400 grits, and then apply a small amount of paste-wax to the portion of the axle without the painters tape. The paste-wax will serve as a lubricant to keep the axle turning smoothly in the body.

A dowel with rough ends, a smooth and waxed middle, and two wedges sitting near

And there you are, a completed axle that will work well in a toy car.

#toyCars #howTo #axles

Discuss... Or contact me in the fediverse @davepolaschek@writing.exchange