Cholla and Resin Carving Knife and Sheath
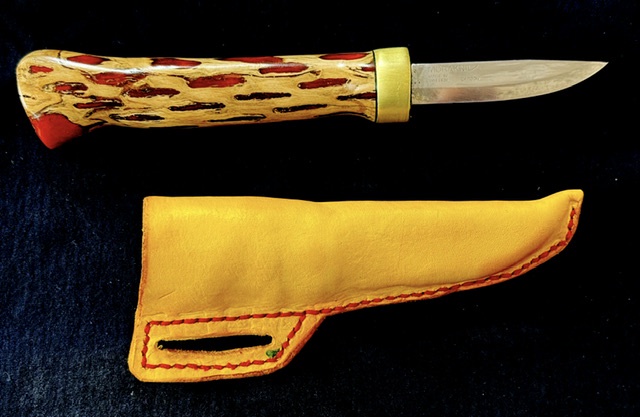
I recently finished this cholla and resin knife. The story of how it came to be is below the fold.
I recently finished this cholla and resin knife. The story of how it came to be is below the fold.
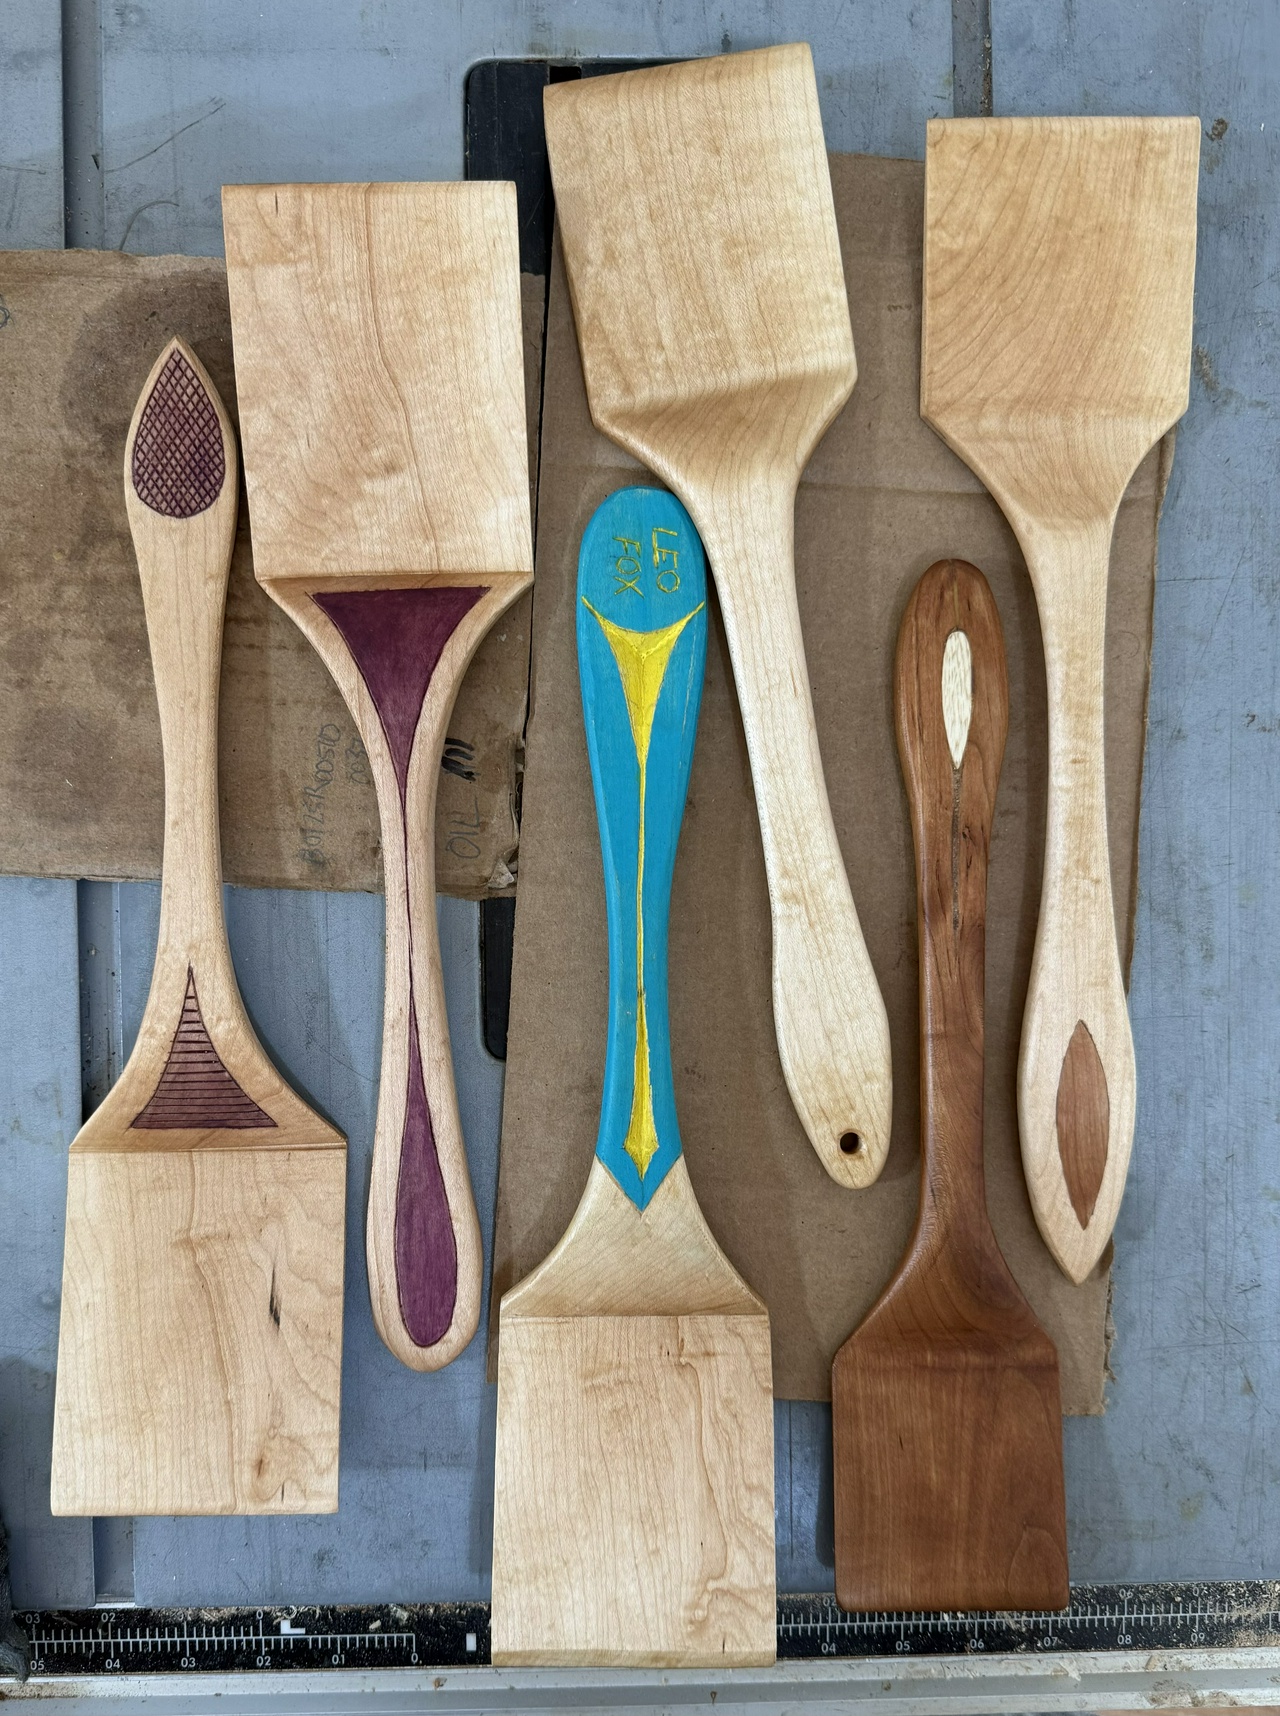
So… a week and an half ago, just getting over the flu I’d had for two weeks, I decided I needed a second wooden spatula in the kitchen. So I made one from cherry. And broke it when I put in the inlay of ash which was just a hair too big.
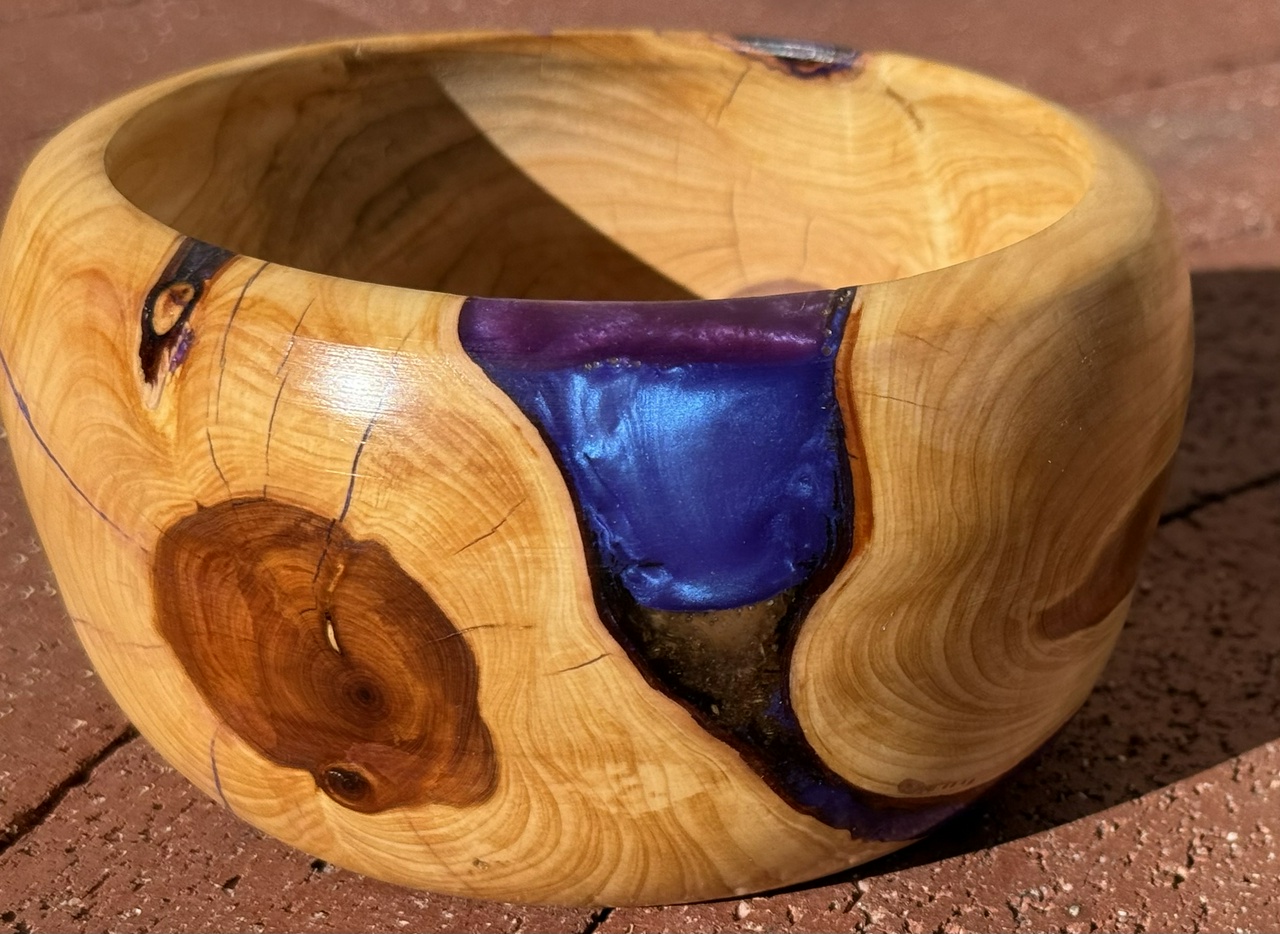
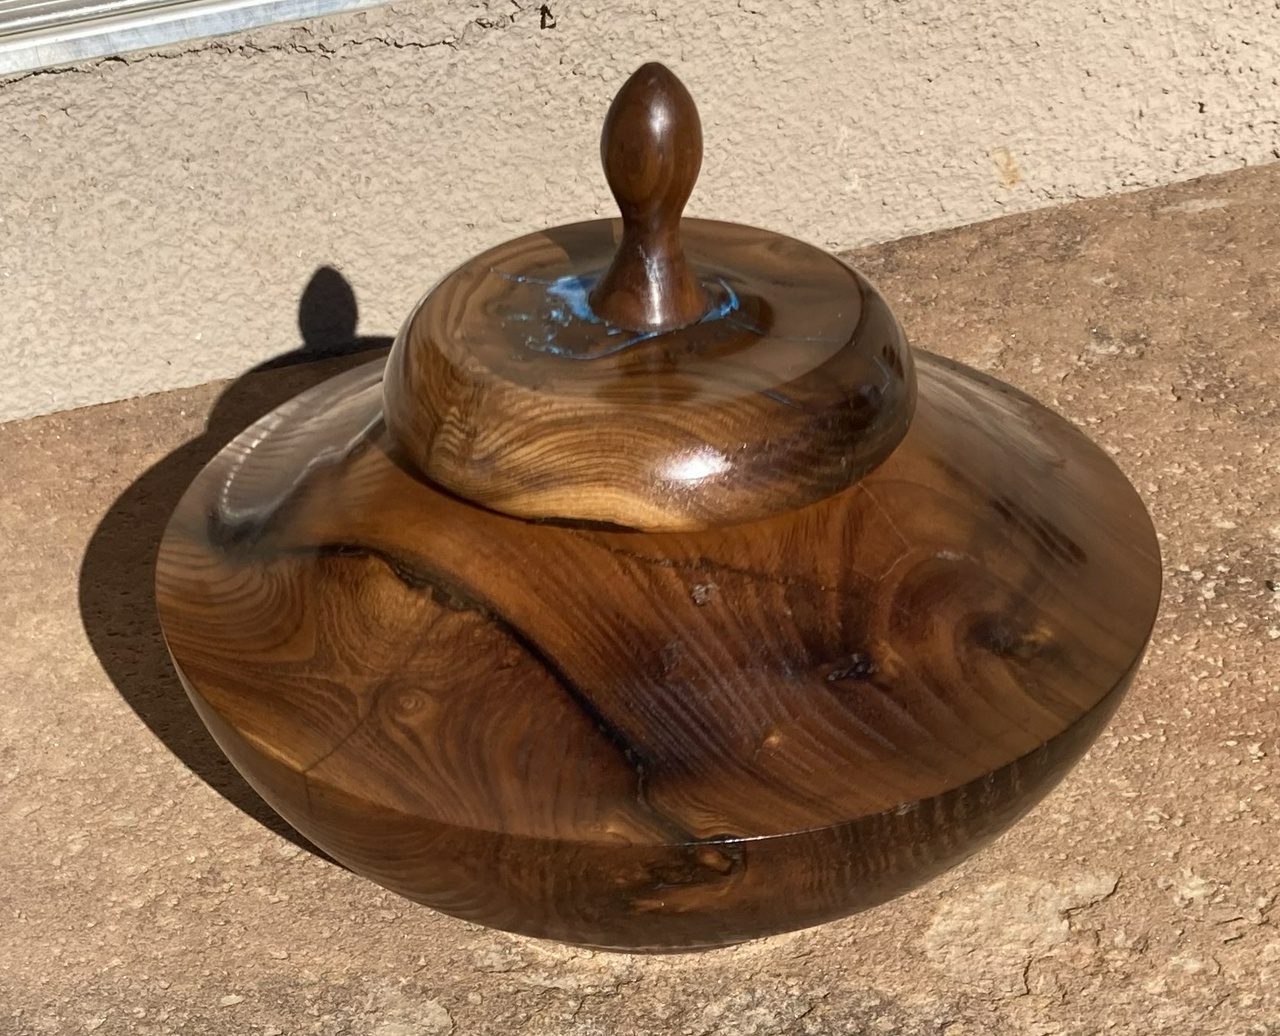
The bowl was made from a crotch in a juniper tree with a large bark inclusion where the branch and trunk had partially grown together. Wacky grain, multiple different bits of heartwood, and all the sorts of things that make for a pretty result if you can keep the bowl from exploding on the lathe.
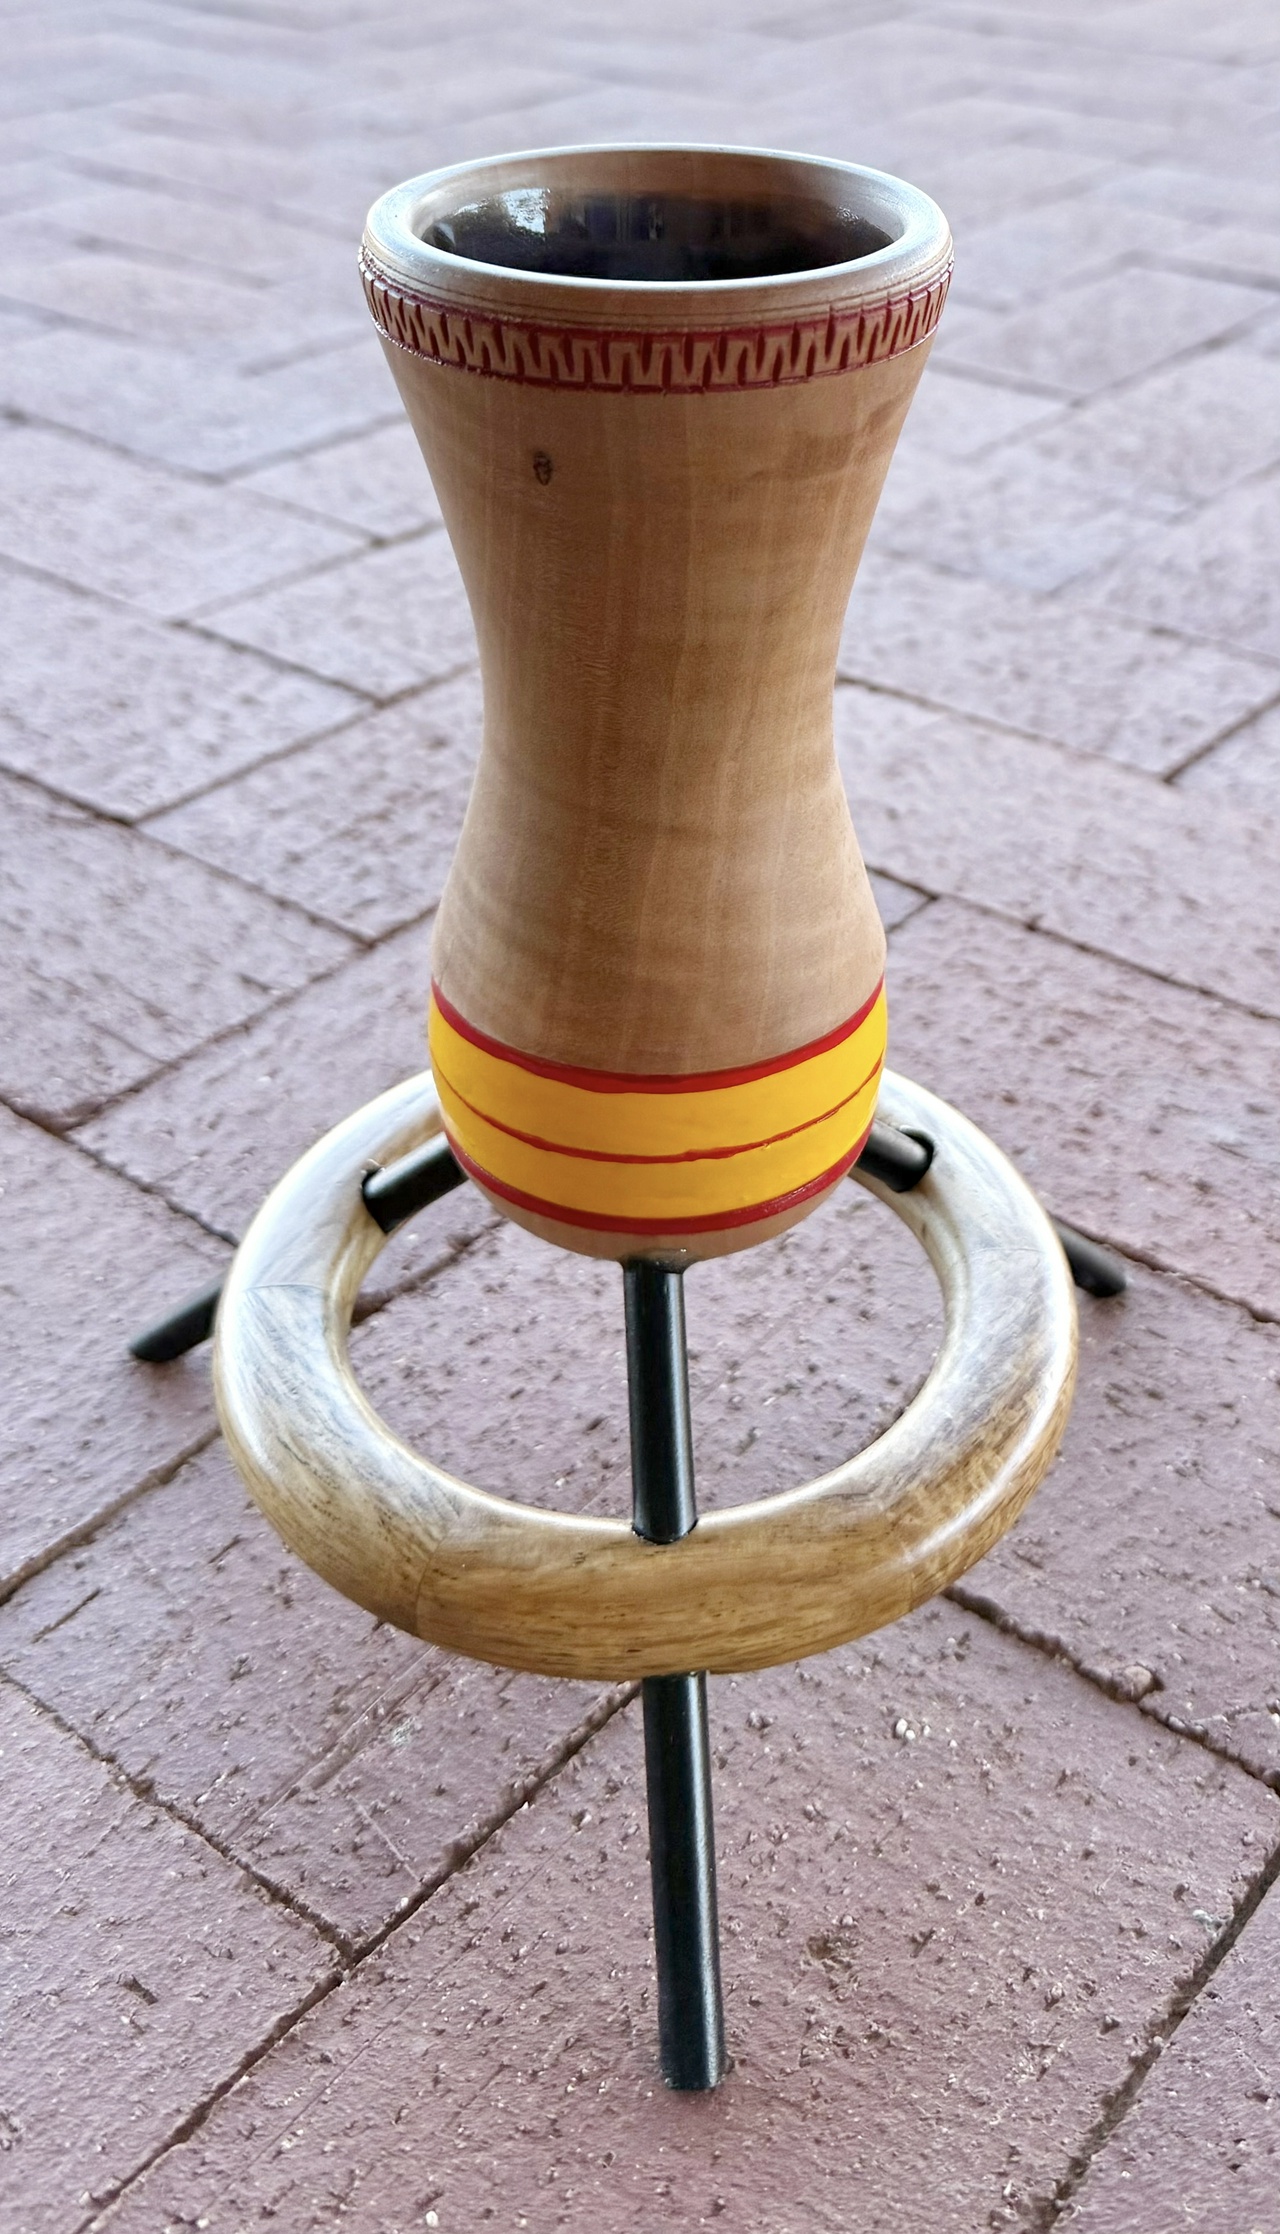
This is a vase I turned from a chunk of Bradford Pear. I wanted to try a round-bottomed vase, without thinking about how I would hold it upright once it had something in it.
A friend gave me some live oak a while back, and while I’ve use smaller pieces for a few things, I had a fairly large chunk that I figured would make a bowl. It had bark inclusions and a few checks, and was generally pretty gnarly, but I mixed up some epoxy and red dye (too much red dye, based on the finished result) and filled and solidified the fragile bits, then turned this bowl.
I made a pair of boxes to hold pens recently. They're made with local wood, though I used some citrus from Arizona for accents. Both will be given away by a local non-profit at their anniversary celebration in October.
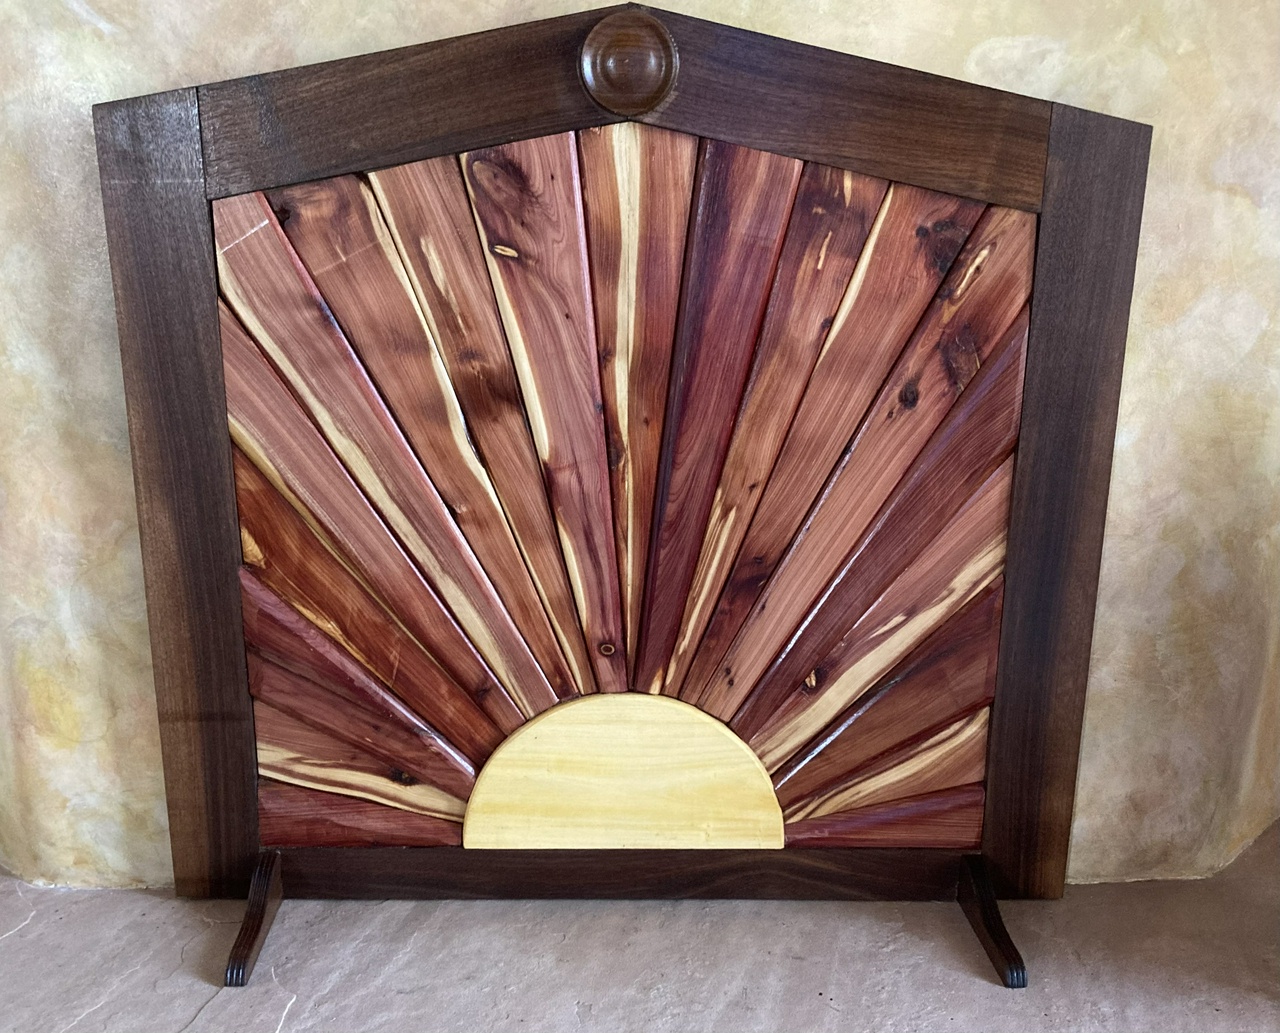
I built a screen for our fireplace recently, and am fairly happy with the result. The screen is for times when we’re not using the fireplace, since it looks dirty, and when the wind gusts, sometimes the damper blows open, and then we get a cold wind into the living room. This also greatly reduces the noise from wind blowing across the top of the chimney.
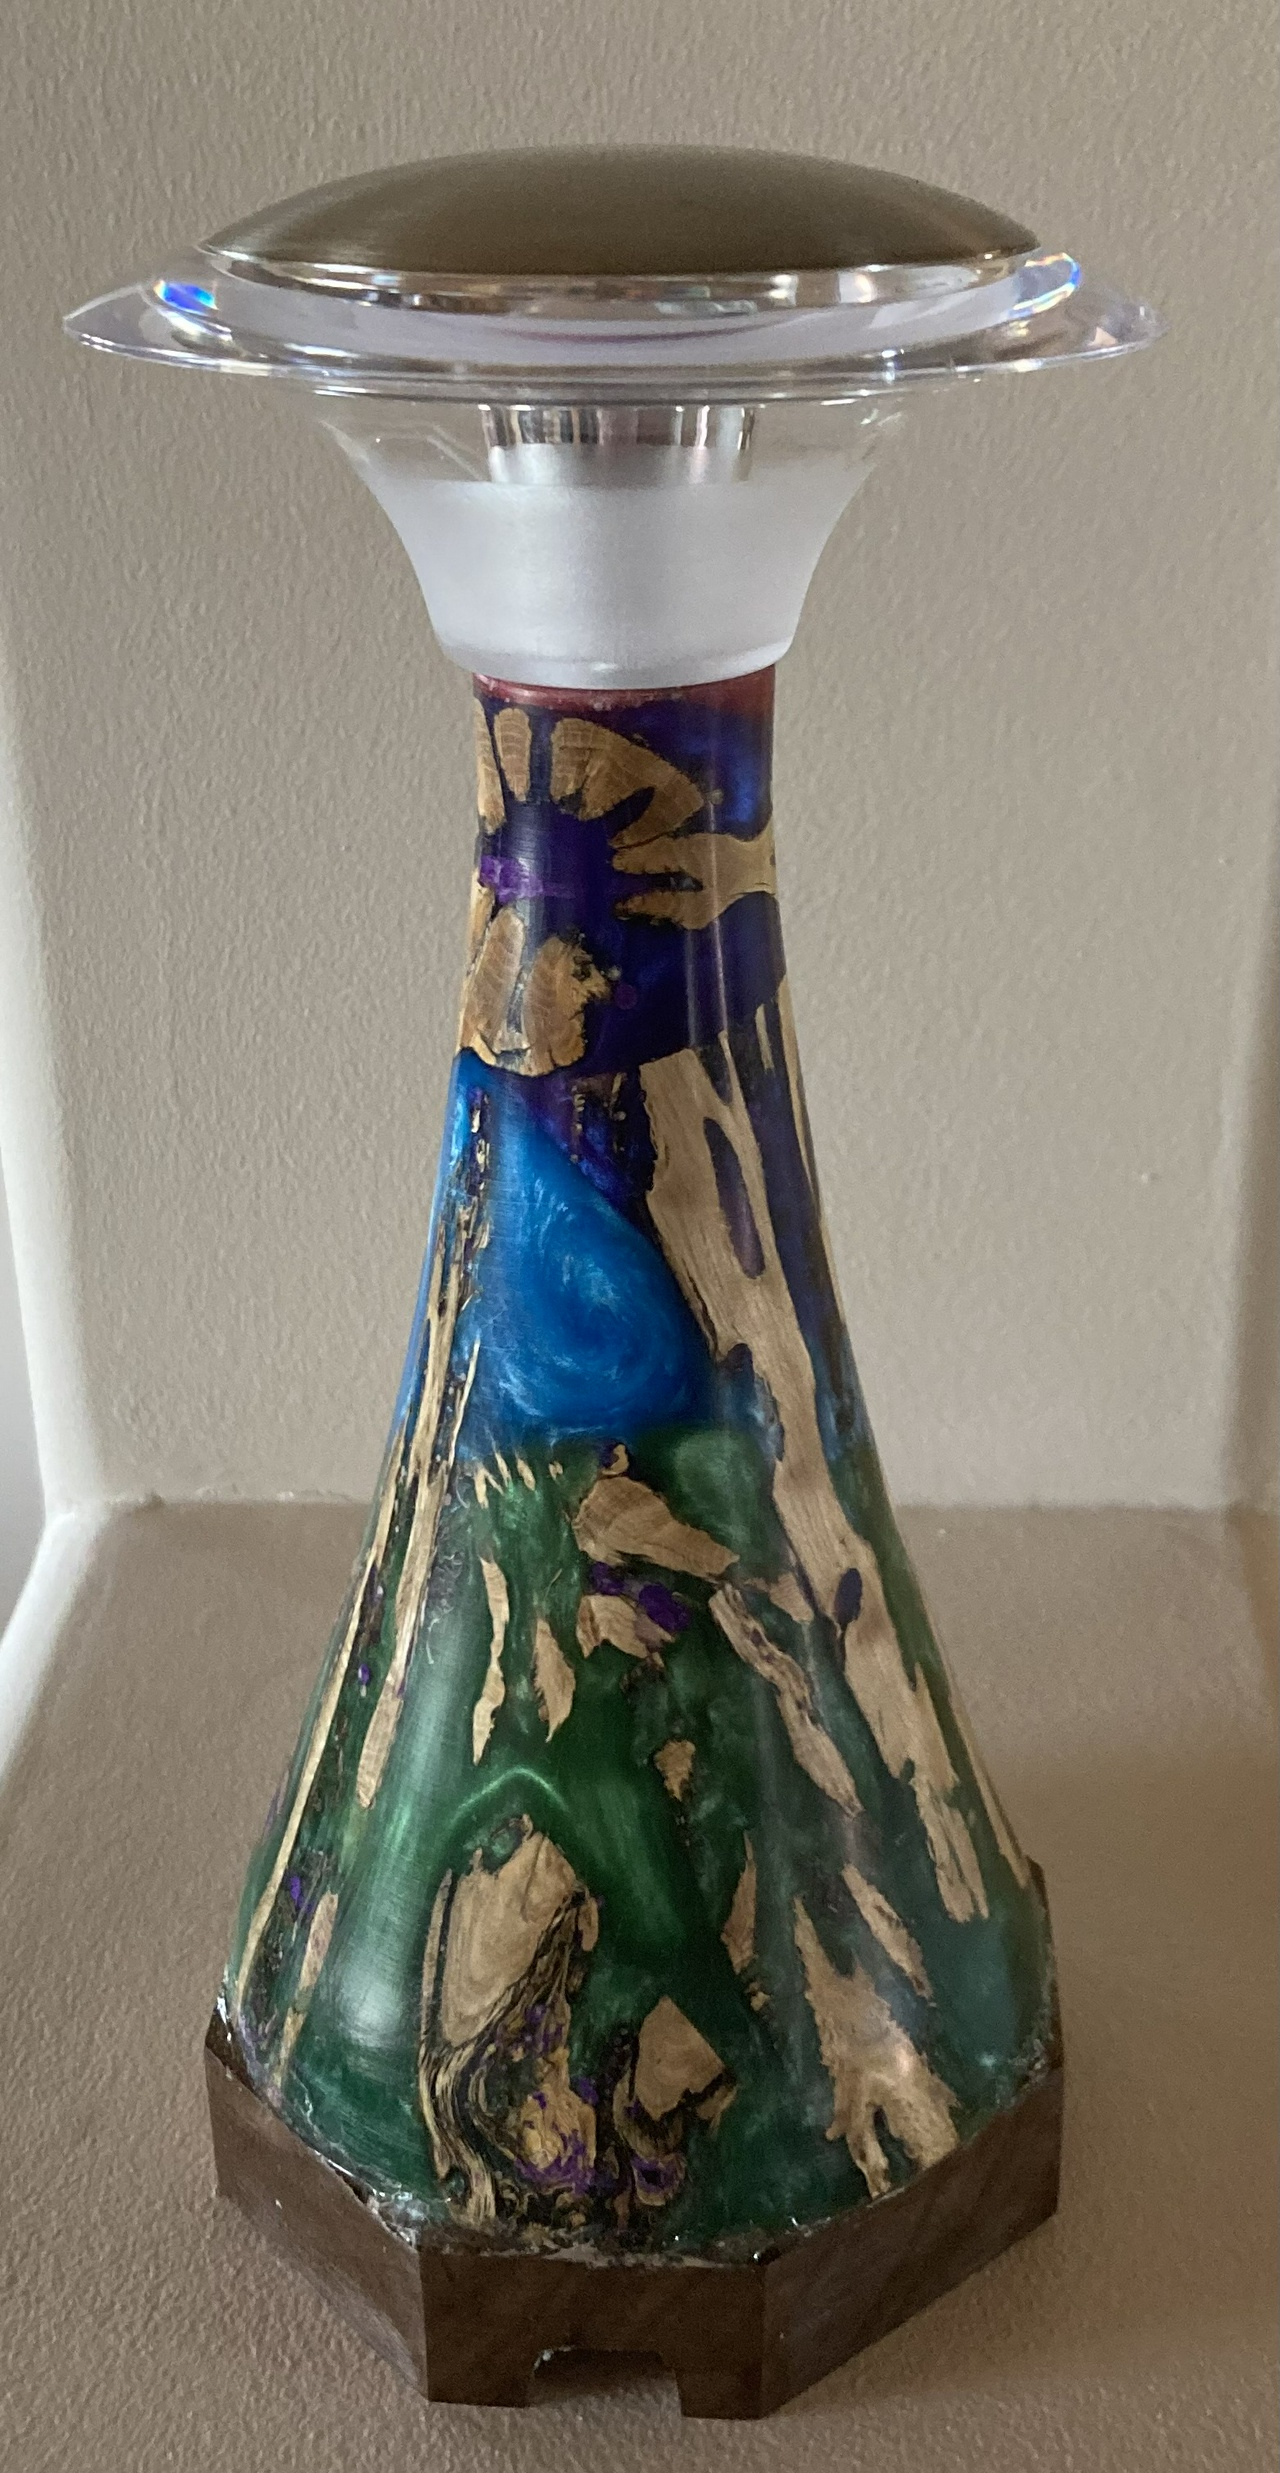
I finished another cholla and resin lamp this morning. Started pouring the resin for this in March or April, so it went somewhat quicker than previous lamps.
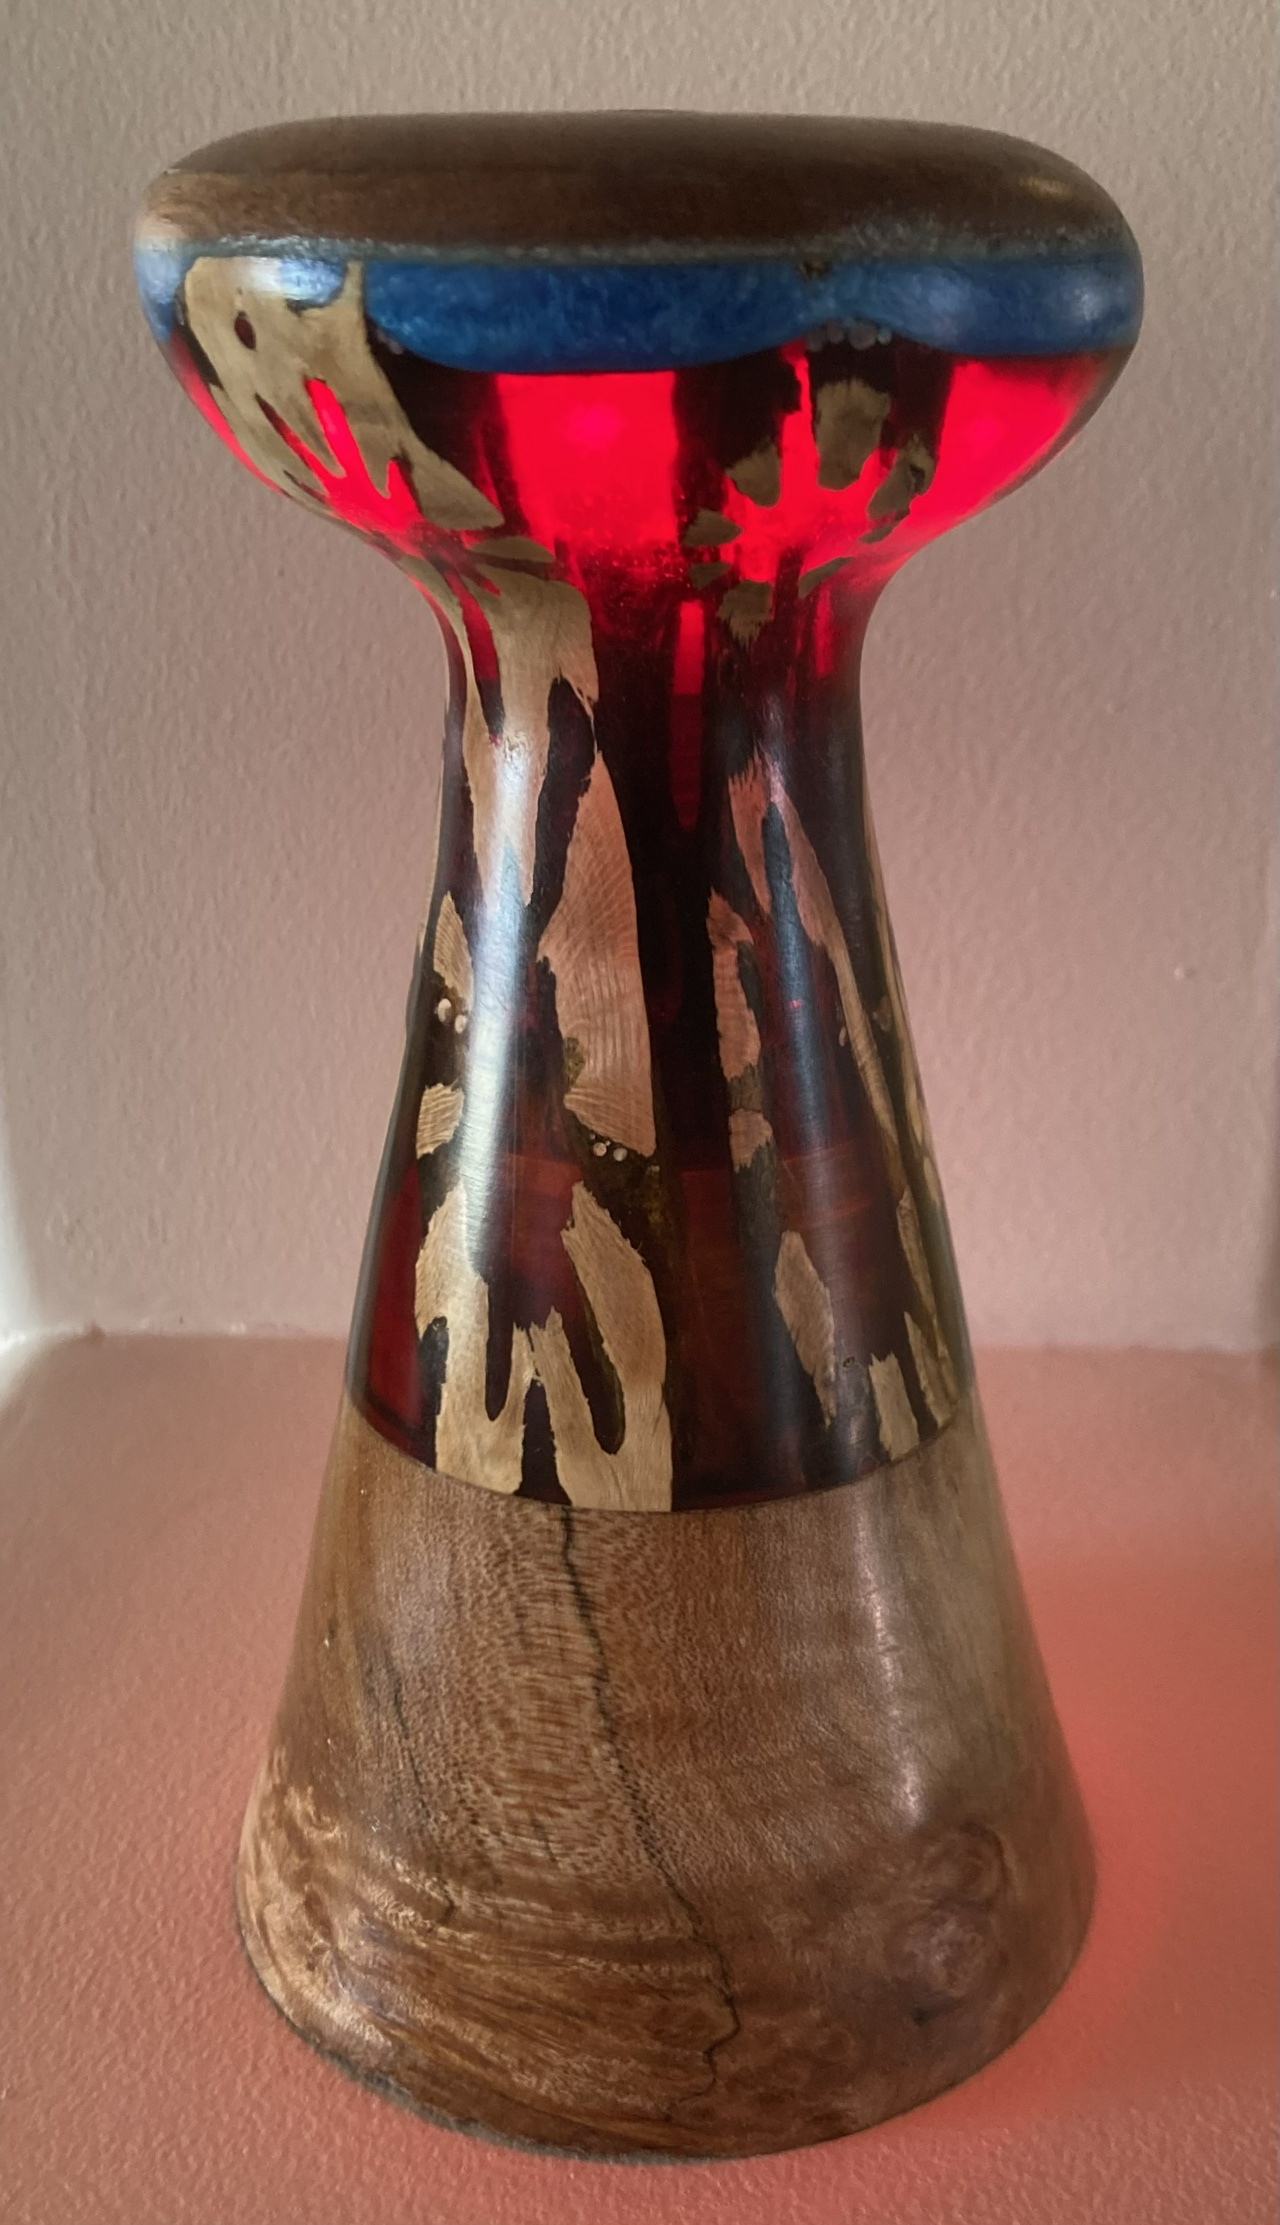
I made another touch control nightlight over the course of the past few months. The body is cholla and resin. The base is birch, and the top is sapele. It’s a nice red glow at its brightest, and barely noticeable at its dimmest, but it will last for over 80 hours on a charge at that brightness.
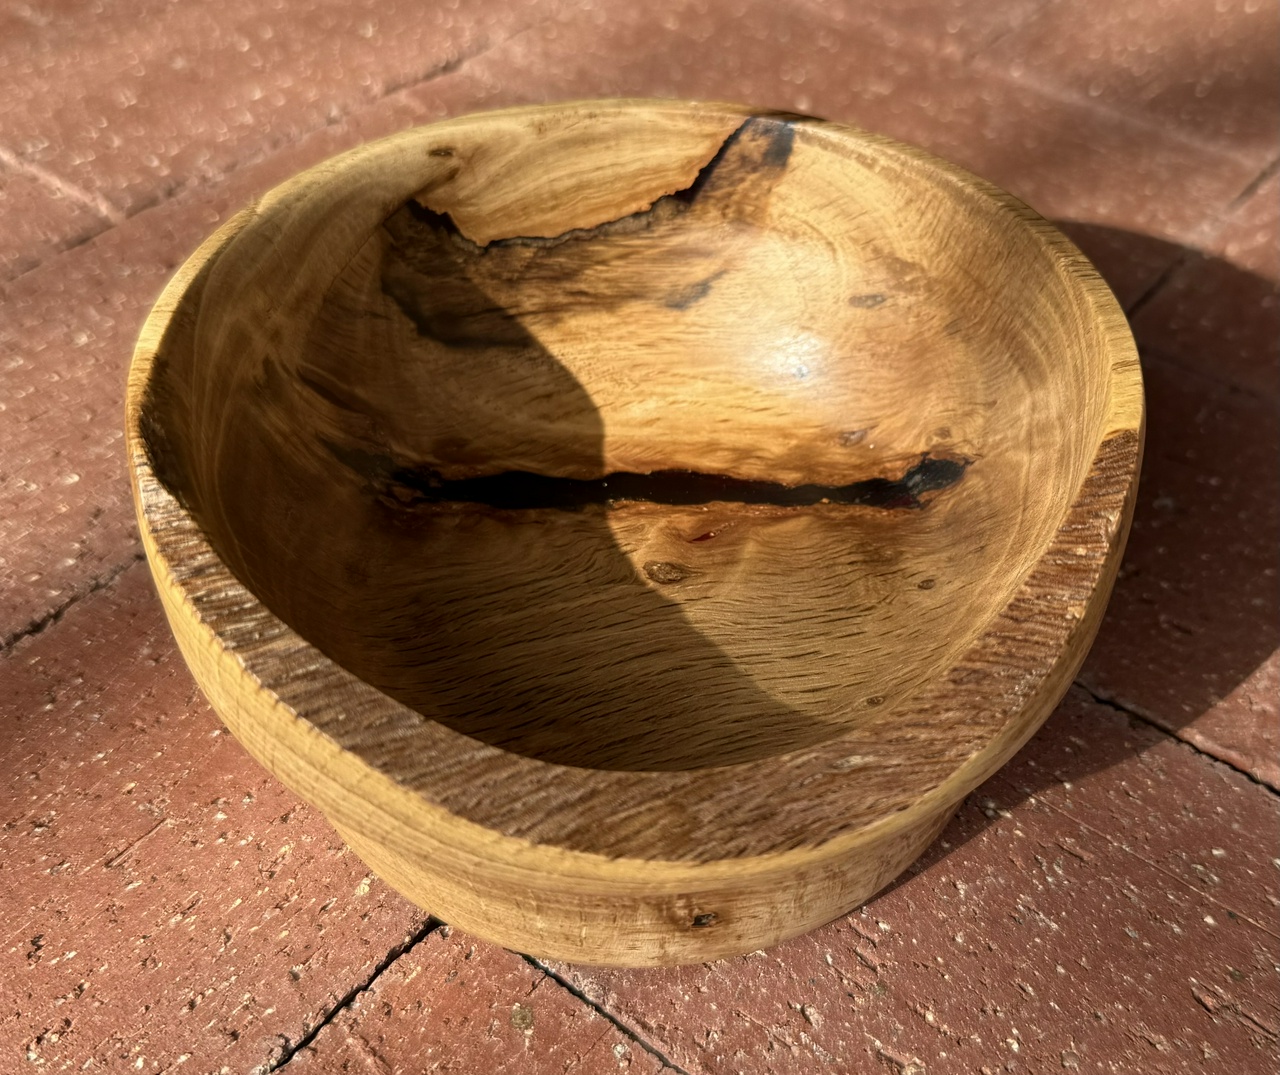
Got some Russian olive from a friend last Saturday. This bowl came out of one of the pieces. There are two cracks that wanted to come apart as I was turning it, and the shape was largely dictated by another crack that did come apart (and which put a dent in the ceiling of my shop).