Cholla and Resin Carving Knife and Sheath
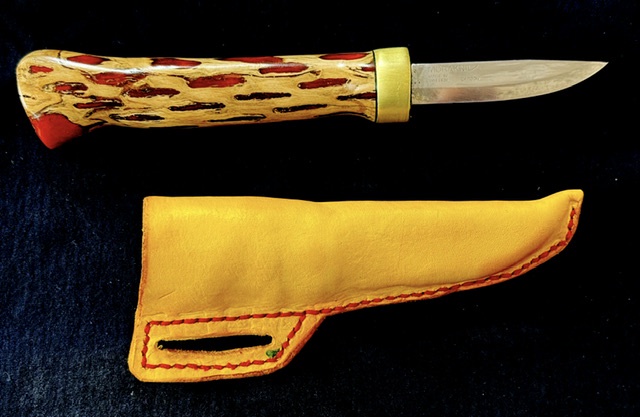
I recently finished this cholla and resin knife. The story of how it came to be is below the fold.
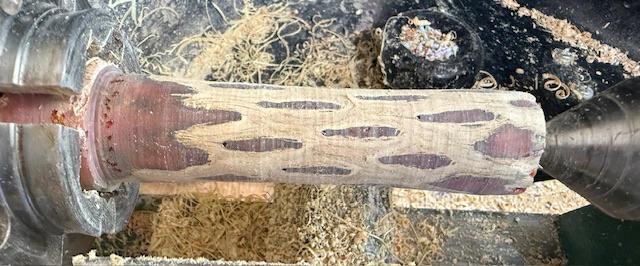
After pouring some resin to make cholla pen blanks, I had some prepared cholla left over, and made a mold from a couple chunks of tubafor to cast a handle. Once that had cured, I rough-turned it on the lathe to get it more or less handle-shaped.
Since the tang of the knife blade I was planning to use is a somewhat complex shape, I simplified it to a series of steps. The widest portion was a 7/16 inch hole, then a narrower portion with a 5/16 hole, then the smallest portion with a ⅛ inch hole. But because I don’t want an unsupported drill-bit going down the middle of a hole possibly getting misaligned, I started with the smallest, and drilled the ⅛ inch hole roughly five inches deep (I have a 6 inch long drill bit for just this sort of task), then drilled a short ¼ inch hole for the wider bit of the tang, followed by the 5/16 inch hole for all but the last inch, which was drilled with the 7/16 inch hole.
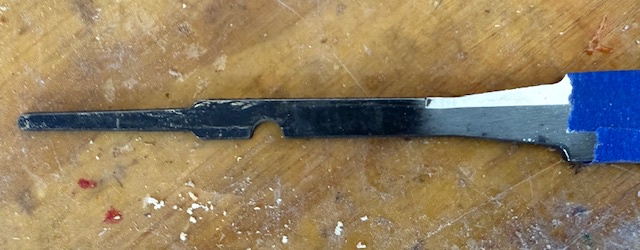
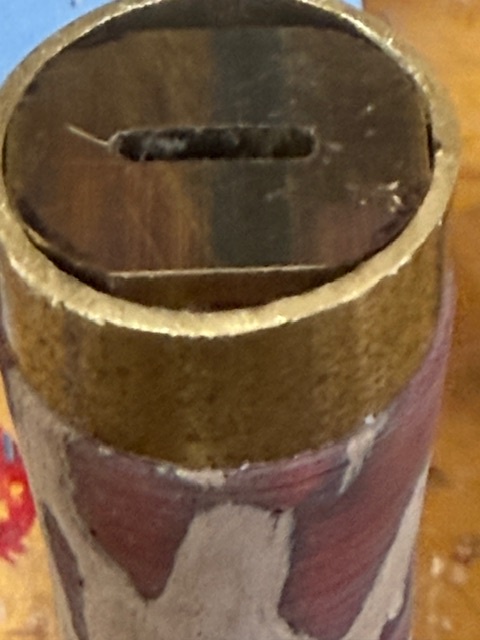
When I was done with that, the blade could drop into the hole in the center of the handle, and was relatively supported most of its length. Knowing that the most stress would be at the end of the handle where the knife enters it, I planned on putting on a ferrule or bolster, using some brass tubing I have on hand. I turned the end of the knife handle down until that just fit.
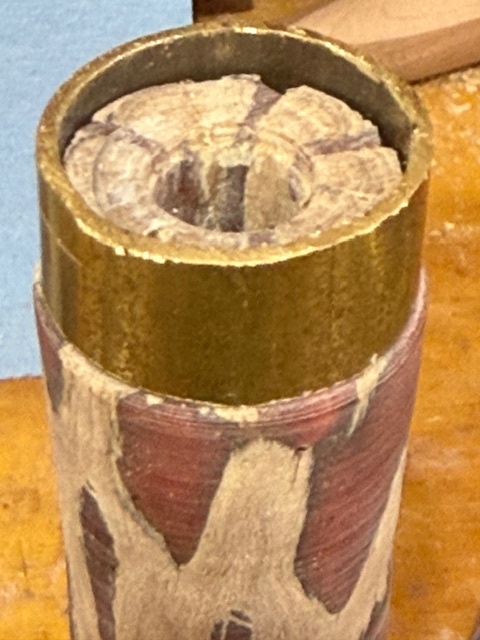
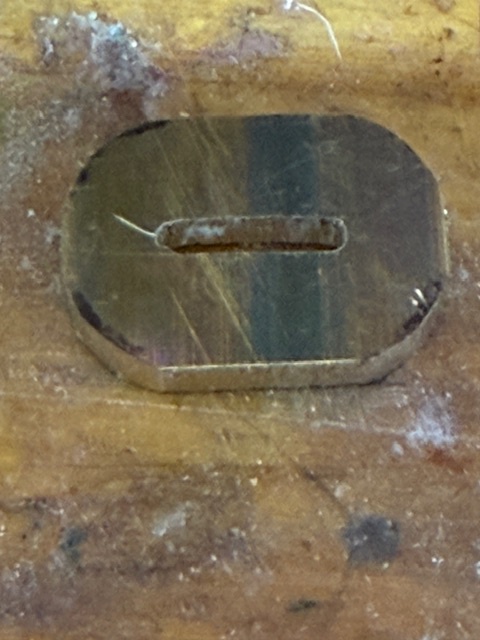
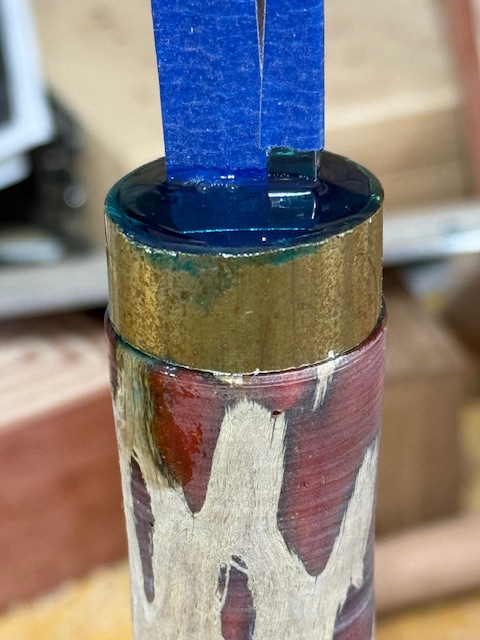
Next was an insert. I have some small pieces of brass that a friend milled holes into which slip over the tang of these knife blanks, so I prepared one of those to fit inside the round tubing. Once everything fit correctly, I placed the ferrule on the tang of the blade, poured epoxy into the hole in the handle, and carefully slid the knife blade in place. A bit of epoxy oozed out, but I was using slow-setting epoxy, so I had plenty of time to wipe it up.
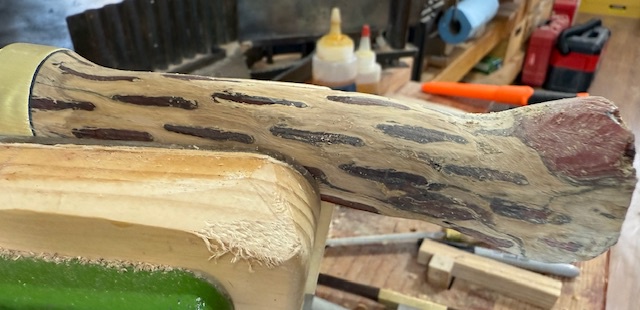
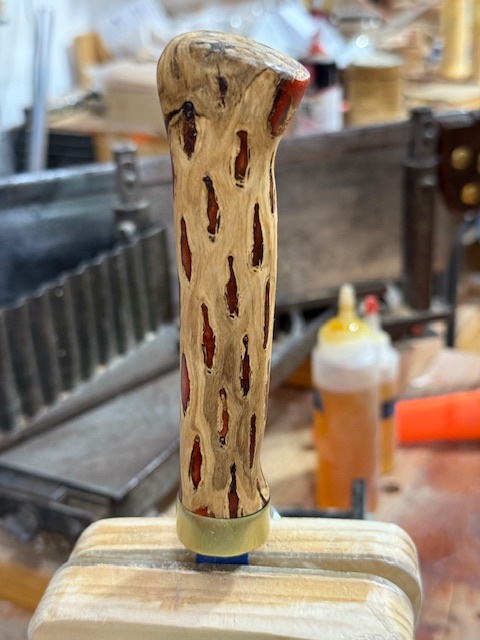
Once the epoxy cured, I removed the blade and handle from the lathe chuck and started to shape it into a handle using spokeshaves, rasps, files, and a carving knife.
I continued shaping the handle, using finer tools, then sanded it using 60, 120, 220, and then 400 grit sandpaper. I applied the first coat of finishing oil, let it cure, and evaluated my work.
I needed to make a few minor tweaks to the shape to make it comfortable in my hand, so I made those, and then began finishing the handle.
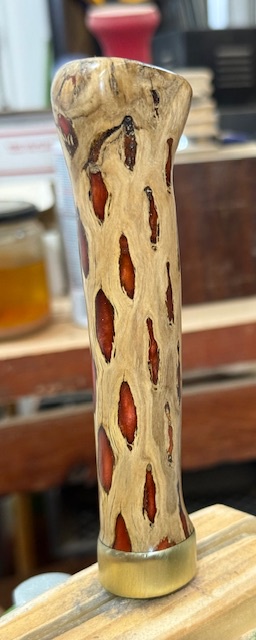
In all, I think I used 7 or 8 coats of finishing oil, rubbing the handle with 0000 steel wool before each coat to smooth out any imperfections.
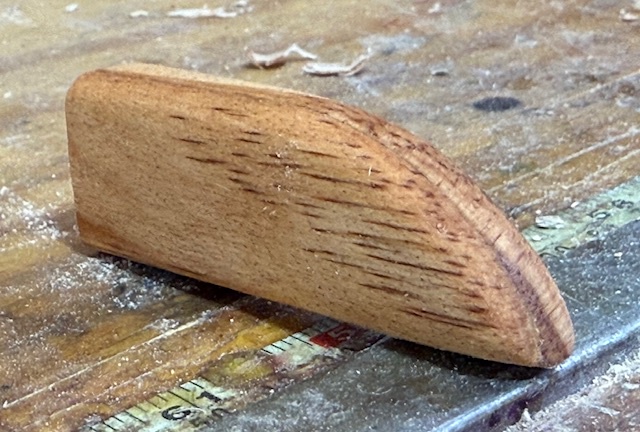
I started preparing the sheath at this point, first making an insert from pine to protect the sheath from the knife. This is a traditional Scandinavian way of making a knife sheath, and I think it gives me a good result.
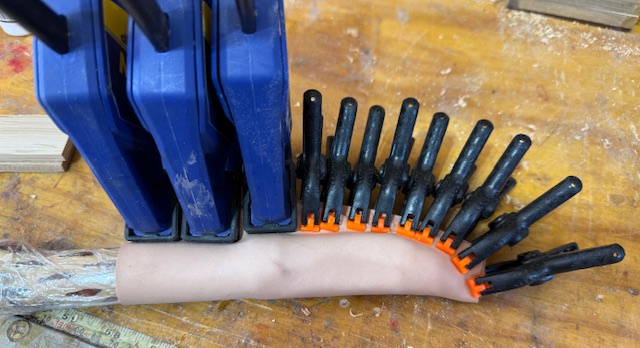
Next up is shaping the leather to the knife. I do this by soaking the leather in water, and then wrapping it around the knife and insert and letting it dry while clamped in place. The leather will take the shape of the knife, and marks from the clamps give me a good guide for where to punch the holes for the stitching.
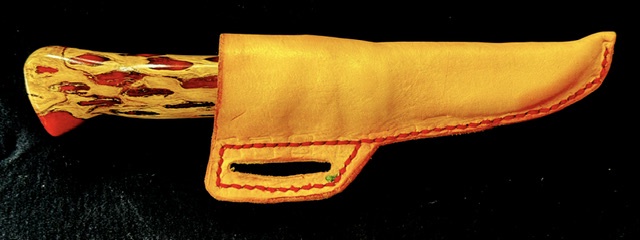
Once the leather dried, I cut holes for a belt-loop, dyed the leather yellow, then punched holes for the stitches and stitched it up with red thread.
Once stitched, I trimmed the leather down to the final dimensions, then chamfered and burnished the edges, re-dyed any spots I had missed, and applied a coat of Resolene®︎ to protect the leather. Done.
Discuss... Or contact me in the fediverse @davepolaschek@writing.exchange